Empower React App with Advanced APIs using Ankr.js SDK
Ankr.js (opens in a new tab) is a JavaScript library that lets you interact with Advanced APIs (opens in a new tab). In this guide, you'll learn how to create an NFT viewer app using the following technologies:
- Next.js as the React/frontend framework
- TailwindCSS as the CSS framework
- AnkAnkr.jsr SDK to interact with Advanced APIs
- Advanced APIs as the data source
Prerequisite: To successfully finish this guide, you'll need Node.js (opens in a new tab)↗ and Yarn (opens in a new tab)↗ installed on your machine.
Step 1: Setting Up Your Next.js Starter Project
Navigate into a directory of your choice and run the following command in your terminal to set up a new Next.js project:
yarn create next-app --ts ankrjs-tutorialYou can now navigate into the directory and launch the app:
cd ankrjs-tutorial && yarn devHere's what it looks like at the moment:
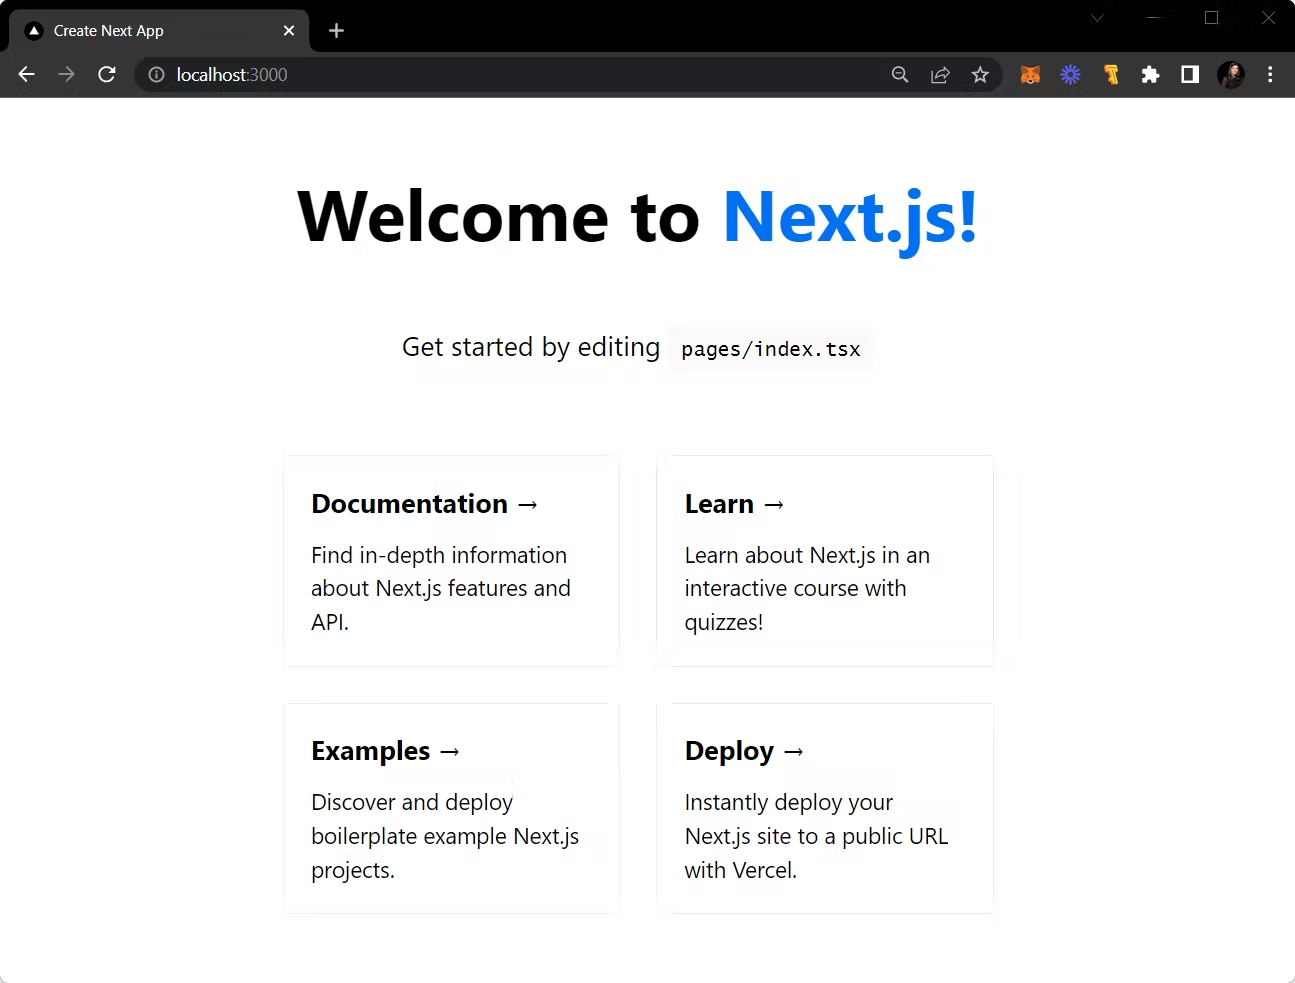
The app currently only contains the boilerplate code provided by Next.js. Over the course of the next few sections, you'll set up Ankr.js and use it to create a gallery of NFTs for any given wallet address.
Before we proceed to step 2, feel free to set up TailwindCSS by following their official guide for Next.js: Tailwind Docs (opens in a new tab).
Step 2: Installing And Setting Up Ankr.js
Next, you will install and set up Ankr.js so that you can use it to fetch all the NFTs for a given wallet address later on.
Start by installing the ankr.js package from npm:
# ./ankrjs-tutorial

yarn add @ankr.com/ankr.js
Next, create a new file named utils.ts at the root of your project directory. You will initialize Ankr.js in this file.
File: ./utils.ts
import AnkrProvider from '@ankr.com/ankr.js';

const provider = new AnkrProvider('');
Your provider instance will be your interface to the Ankr Advanced APIs whenever you want to fetch some data from them.
Step 3: Creating NFT Retrieval Function
In this step, you will create a getNfts function that accepts a walletAddress and returns a list of NFTs owned by that address.
You can utilize the getNFTsByOwner function provided by Ankr.js for this.
File: ./utils.ts
import AnkrProvider from '@ankr.com/ankr.js';

const provider = new AnkrProvider('');

export const getNfts = async (address: string) => {
  const { assets } = await provider.getNFTsByOwner({
    walletAddress: address,
    blockchain: 'eth',
  });
  return {
    nfts: assets,
  };
};
Just to see if things are working, let's call this function on our page i.e. ./pages/index.tsx and log out the output.
File: ./pages/index.tsx
import type { NextPage } from 'next';
import { useEffect } from 'react';
import { getNfts } from '../utils';
const Home: NextPage = () => {
useEffect(() => {
(async () => {
const { nfts } = await getNfts(
'0xB2Ebc9b3a788aFB1E942eD65B59E9E49A1eE500D'
);
console.log({ nfts });
})();
}, []);
return (
<div className='p-10 flex flex-col items-center'>
<h1 className='text-3xl font-bold'>NFT viewer</h1>
</div>
);
};
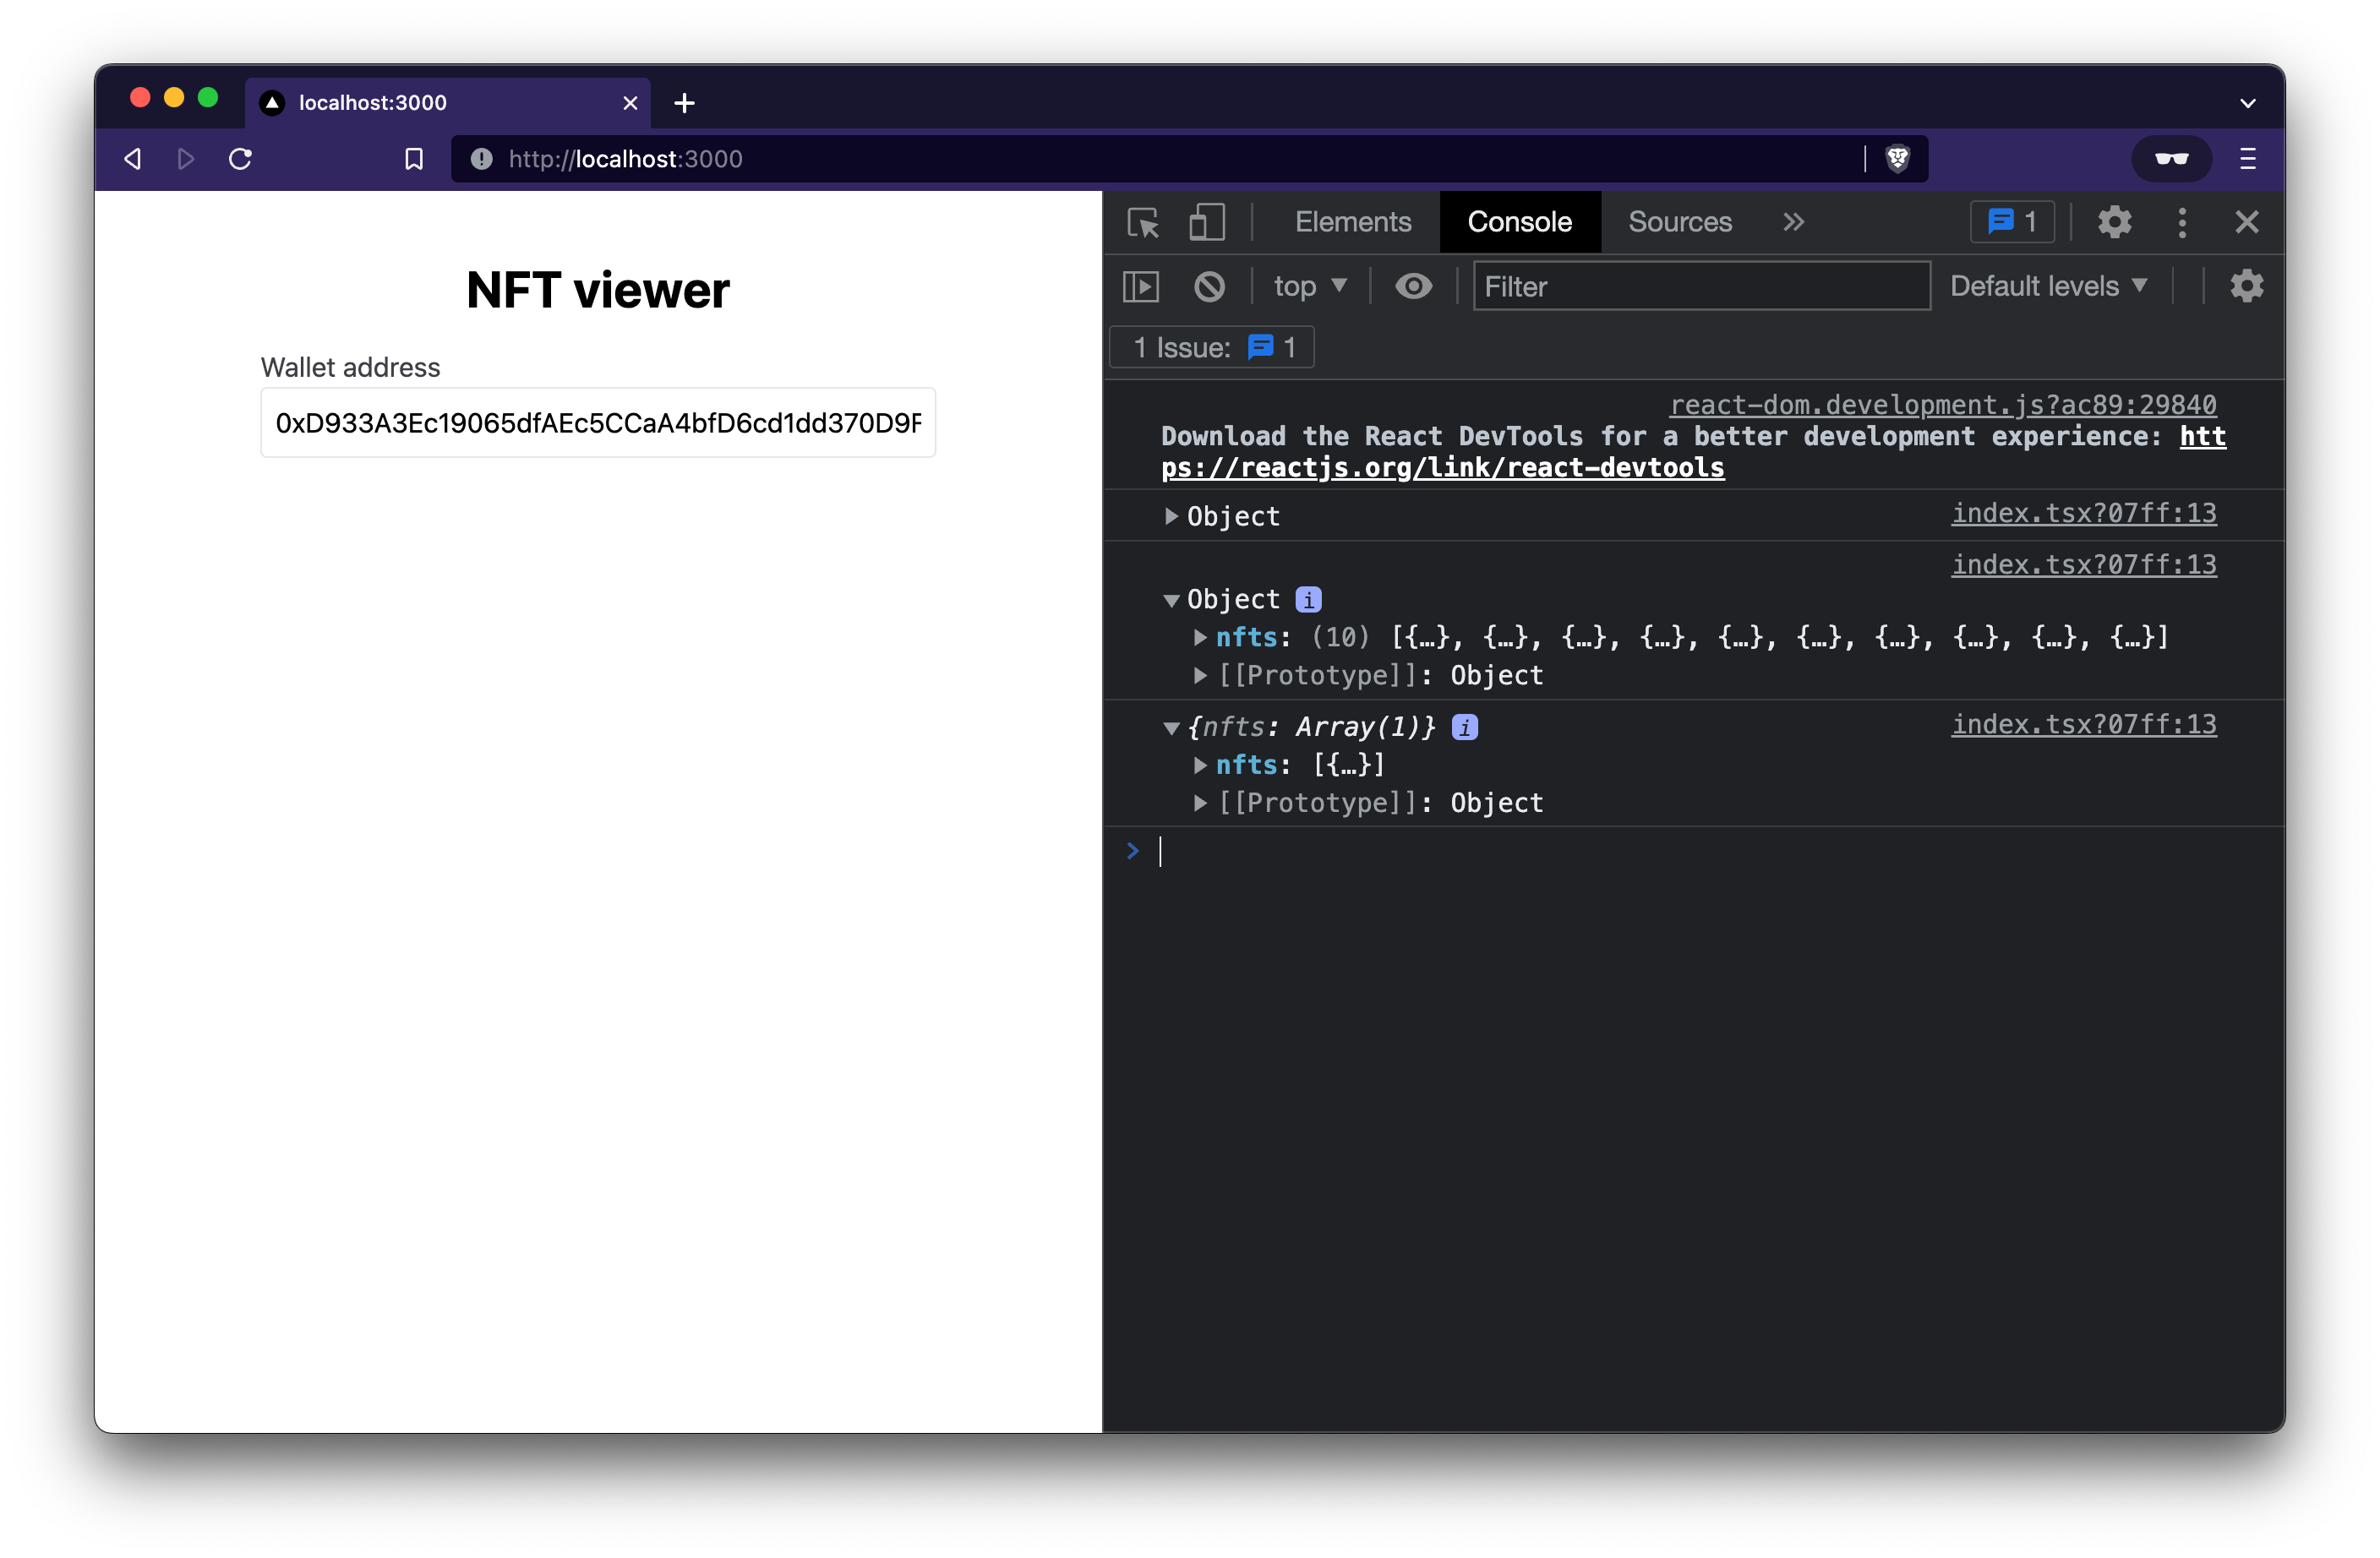
export default Home;You should see a list of nfts being logged out in your browser's console.

Step 4: Creating Wallet Address Input
You will now add an input to the UI that lets the user input any wallet address they want and pass it to the getNfts function.
You can keep track of the wallet address input in a state variable named walletAddress, hook it up to the input element in the UI, and then pass walletAddress to the getNfts function.
File: ./pages/index.tsx
/* eslint-disable @next/next/no-img-element */
import type { NextPage } from 'next';
import Link from 'next/link';
import { useState } from 'react';
import { useNfts } from '../hooks';

const Home: NextPage = () => {
  const [walletAddress, setWalletAddress] = useState(
    '0xB2Ebc9b3a788aFB1E942eD65B59E9E49A1eE500D'
  );

  useEffect(() => {
    (async () => {
      const { nfts } = await getNfts(walletAddress);
      console.log({ nfts });
    })();
  }, [walletAddress]);

  return (
    <div className='p-10 flex flex-col items-center'>
      <h1 className='text-3xl font-bold'>NFT viewer</h1>

      <div className='flex flex-col mt-4'>
        <label className='text-zinc-700' htmlFor='wallet-address'>
          Wallet address
        </label>
        <input
          id='wallet-address'
          type='text'
          value={walletAddress}
          onChange={(e) => setWalletAddress(e.target.value)}
          className='rounded p-2 w-[400px] border'
          placeholder='Enter a wallet address here'
        />
      </div>
    </div>
  );
};

export default Home;
You should see a different list of nfts being logged out in the console when you change the wallet address in the input now. Congrats! You are now able to fetch the list of NFTs owned by any given address.
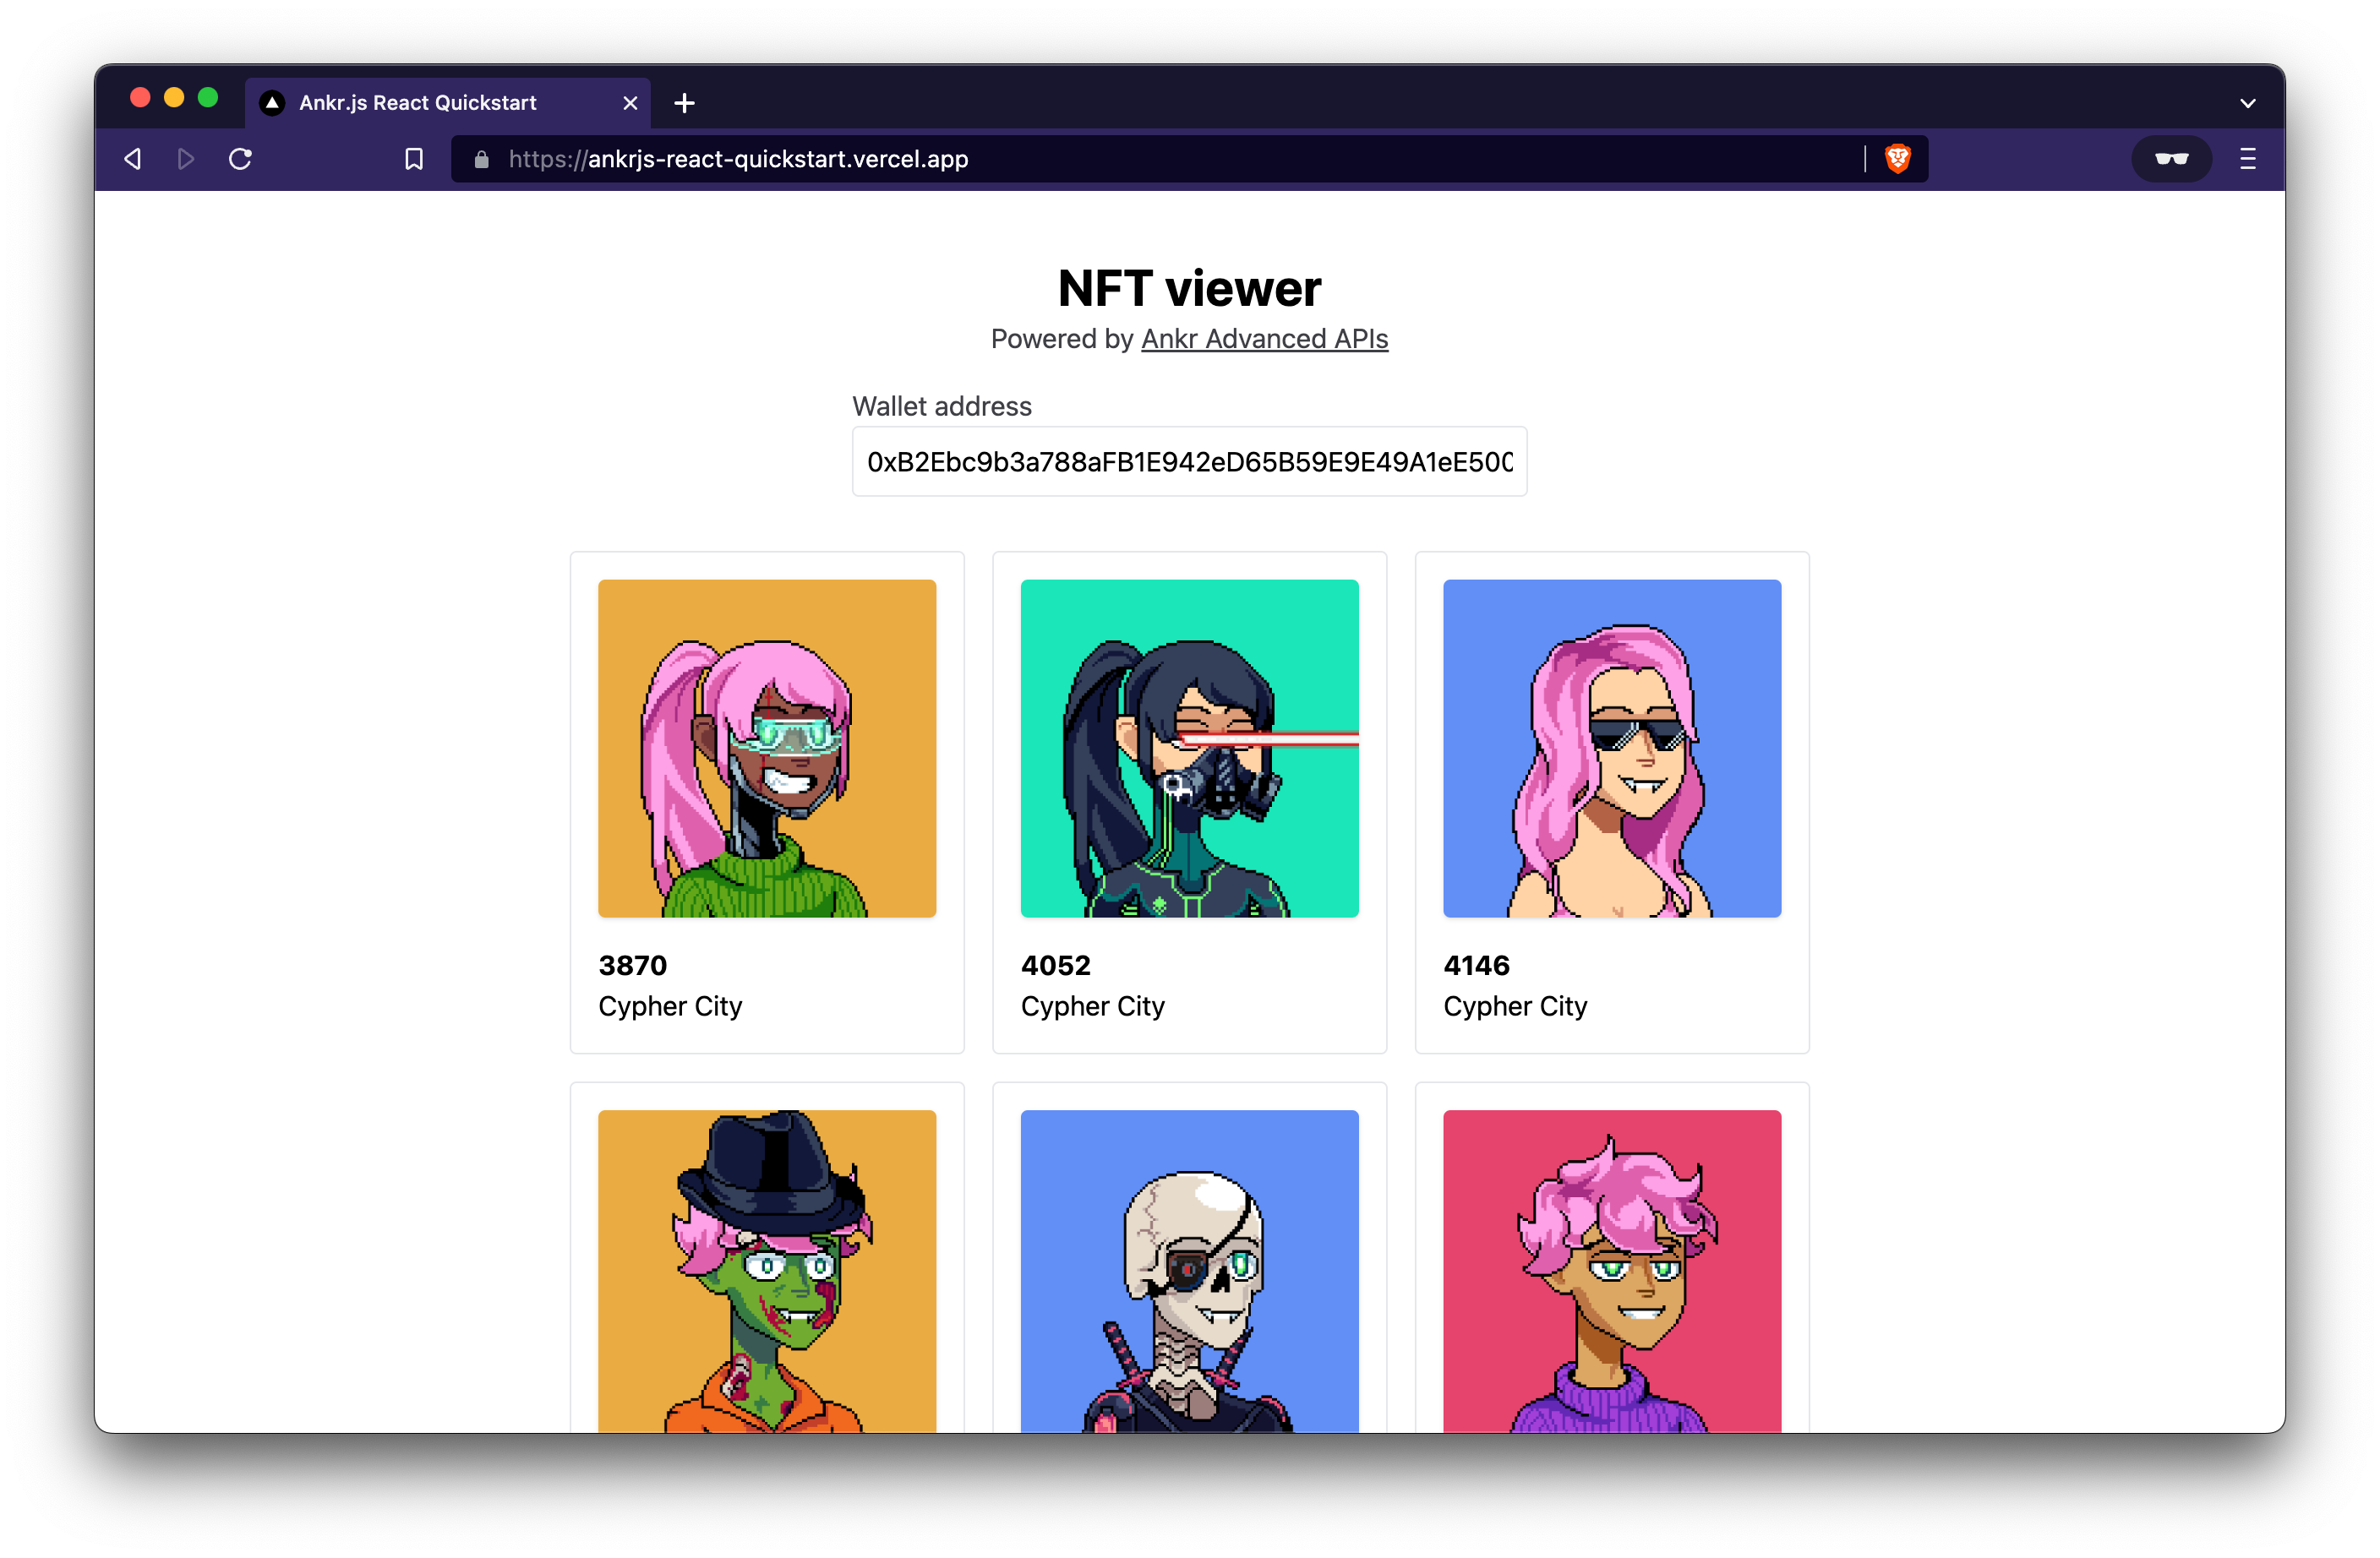
Step 5: Displaying NFTs In Your UI
You can start off by storing the list of NFTs you fetch in a state variable named nfts. You can then loop through nfts and display all the NFTs in a grid.
File: ./pages/index.tsx
/* eslint-disable @next/next/no-img-element */
import type { NextPage } from 'next';
import Link from 'next/link';
import { useState } from 'react';
import { useNfts } from '../hooks';

const Home: NextPage = () => {
  const [walletAddress, setWalletAddress] = useState(
    '0xB2Ebc9b3a788aFB1E942eD65B59E9E49A1eE500D'
  );
  const [nfts, setNfts] = useState<Nft[]>([]);

  useEffect(() => {
    (async () => {
      const { nfts } = await getNfts(walletAddress);
      console.log({ nfts });
      setNfts(nfts);
    })();
  }, [walletAddress]);

  return (
    <div className='p-10 flex flex-col items-center'>
      ...

      <div className='grid grid-cols-3 mt-8 gap-4'>
        {nfts.map((nft) => {
          return (
            <div
              key={`${nft.contractAddress}/${nft.tokenId}`}
              className='flex flex-col rounded border p-4'
            >
              <img
                className='w-[200px] rounded shadow'
                src={nft.imageUrl}
                alt={nft.name}
              />
              <span className='font-bold mt-4'>{nft.name}</span>
              <span>{nft.collectionName}</span>
            </div>
          );
        })}
      </div>
    </div>
  );
};

export default Home;
You should now see a gallery of all the NFTs owned by the given wallet address of your choice. LFG!