Basics with Premium plan
The Premium service plan enables using the Node API endpoints and Advanced APIs at the corresponding rate limits. Here is the path to access Premium and start using its functionality:
Interface schema—>Sign in—>Deposit funds—>Use private endpoints
-
Interface schema: surely, it's always helpful to orient yourself in a new environment. Hardcore users can skip this step and proceed to the following one. -
Sign in: first things first, the road to using Premium starts with signing in into your account (so we can provide you with the private endpoints and know which account to charge under the PAYG model for the requests you make). -
Deposit funds: second, the positive balance of API Credits in your account is a must to be able to query the endpoints. That's why you'll have to deposit funds (we support both Ethereum wallet and credit card payment flows) to be converted into API Credits and stored into your account to make requests. It might be useful to know the prices before depositing funds. -
Use private endpoints: finally, after you've signed in and deposited funds into your account, you're all set to start using private Web3 API endpoints.
Sign in
Web3 API platform supports two authentication options:
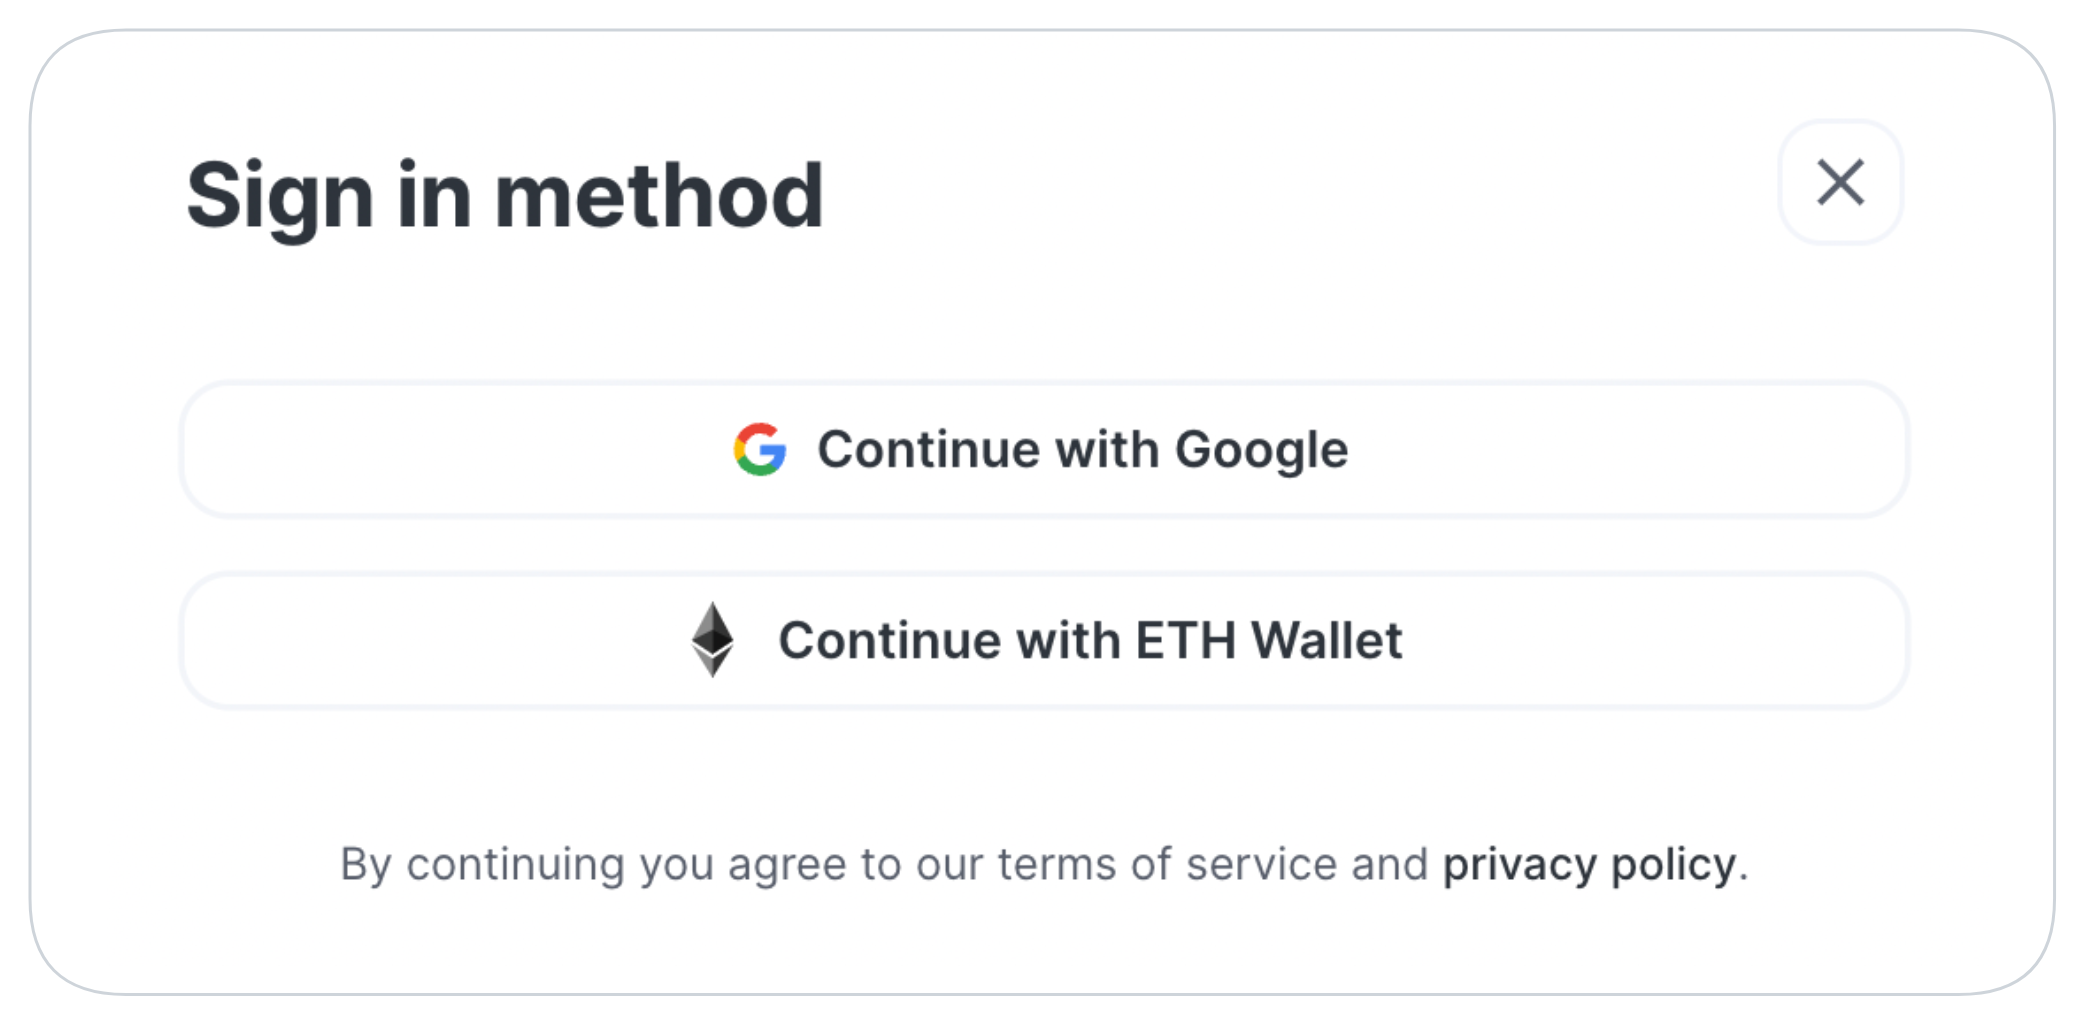
- Google account — sign in with your Google account. This option provides for the credit card payment flow only, though you can connect your wallet anytime to use the Ethereum wallet payment flow.
- Ethereum wallet — connect your wallet to sign in. This option enables using both Ethereum wallet and credit card payment flows.
Via Google account
The Google sign in procedure is the following:
- Go to the Web3 API (opens in a new tab) platform.
- In the top right corner, click Sign in > Continue with Google, and then select the account to use.
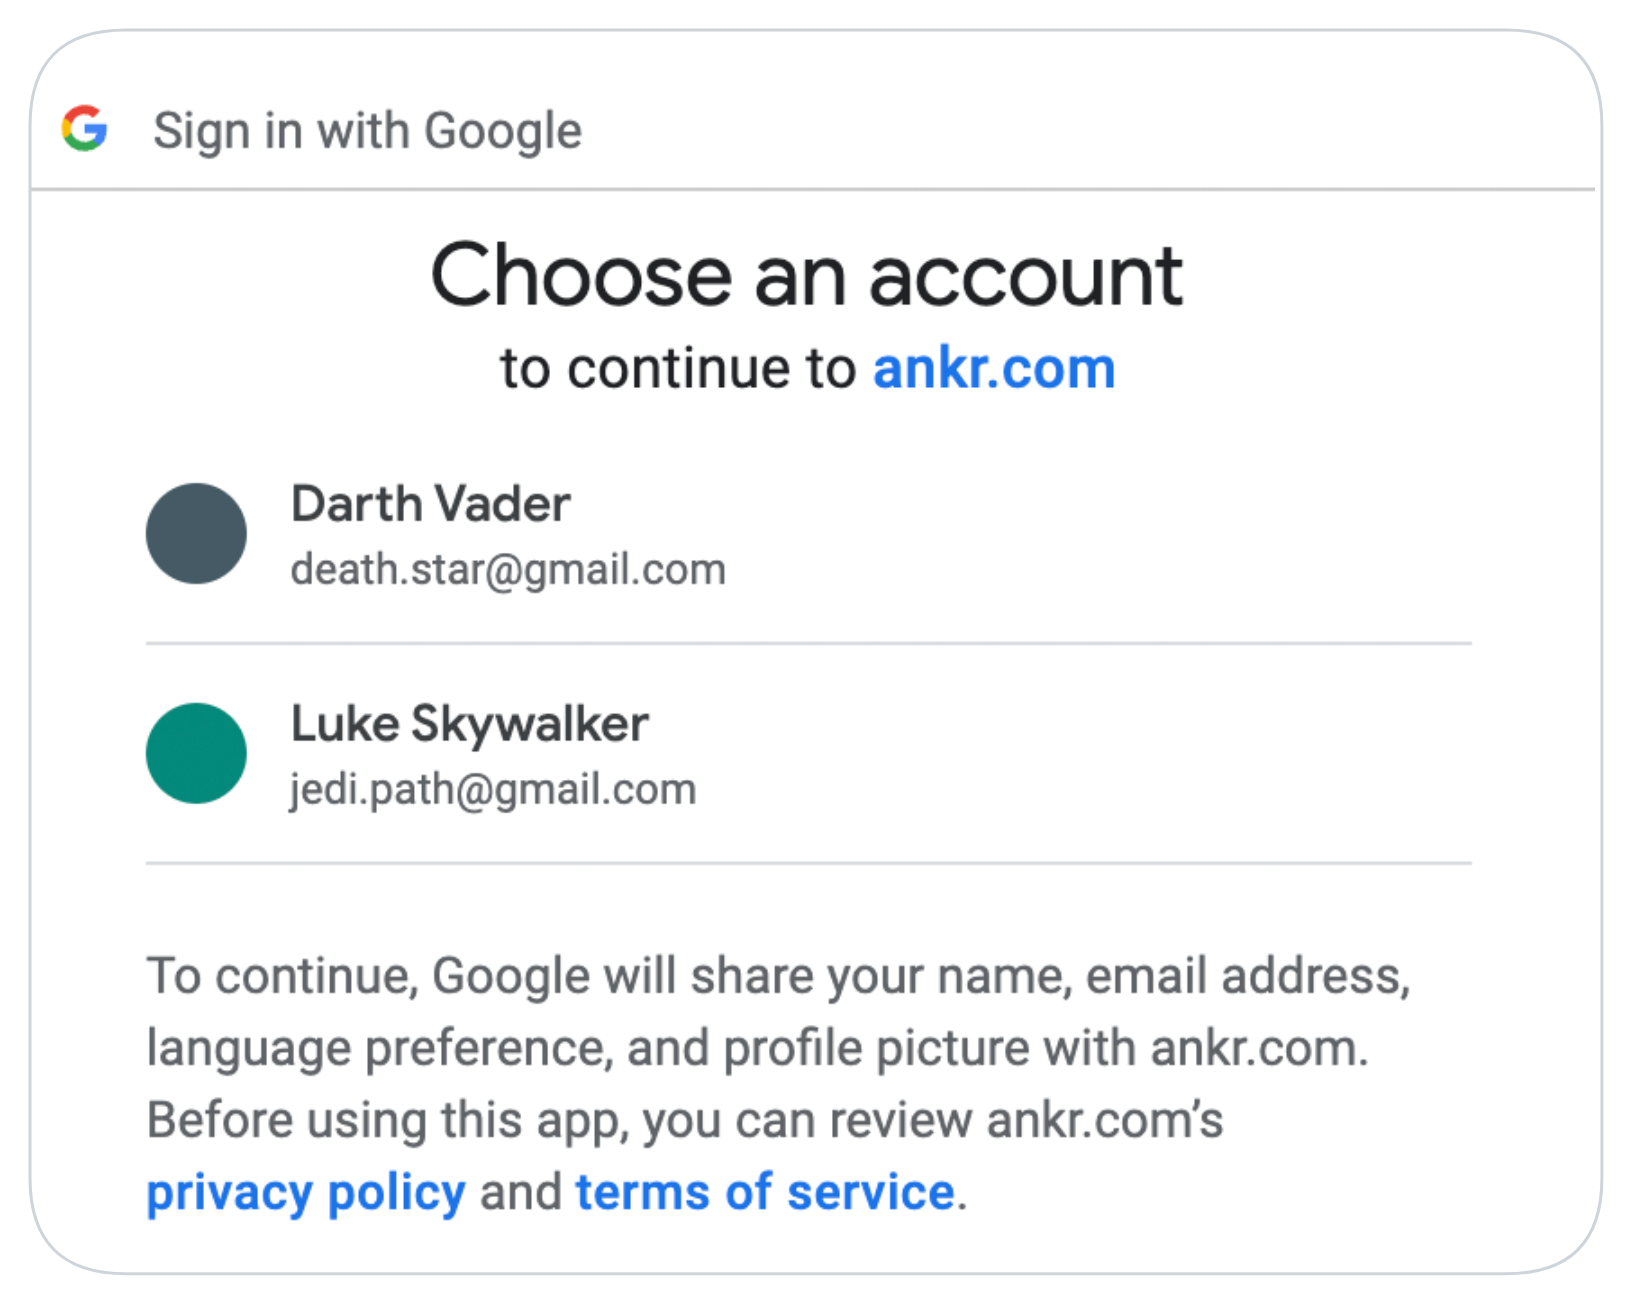
Congrats — you've signed in to Web3 API using your Google account.
Via Ethereum wallet
Upon authentication, the system checks whether your Ethereum account has prior transactions.
Accounts with no transactions can't be used for authentication.
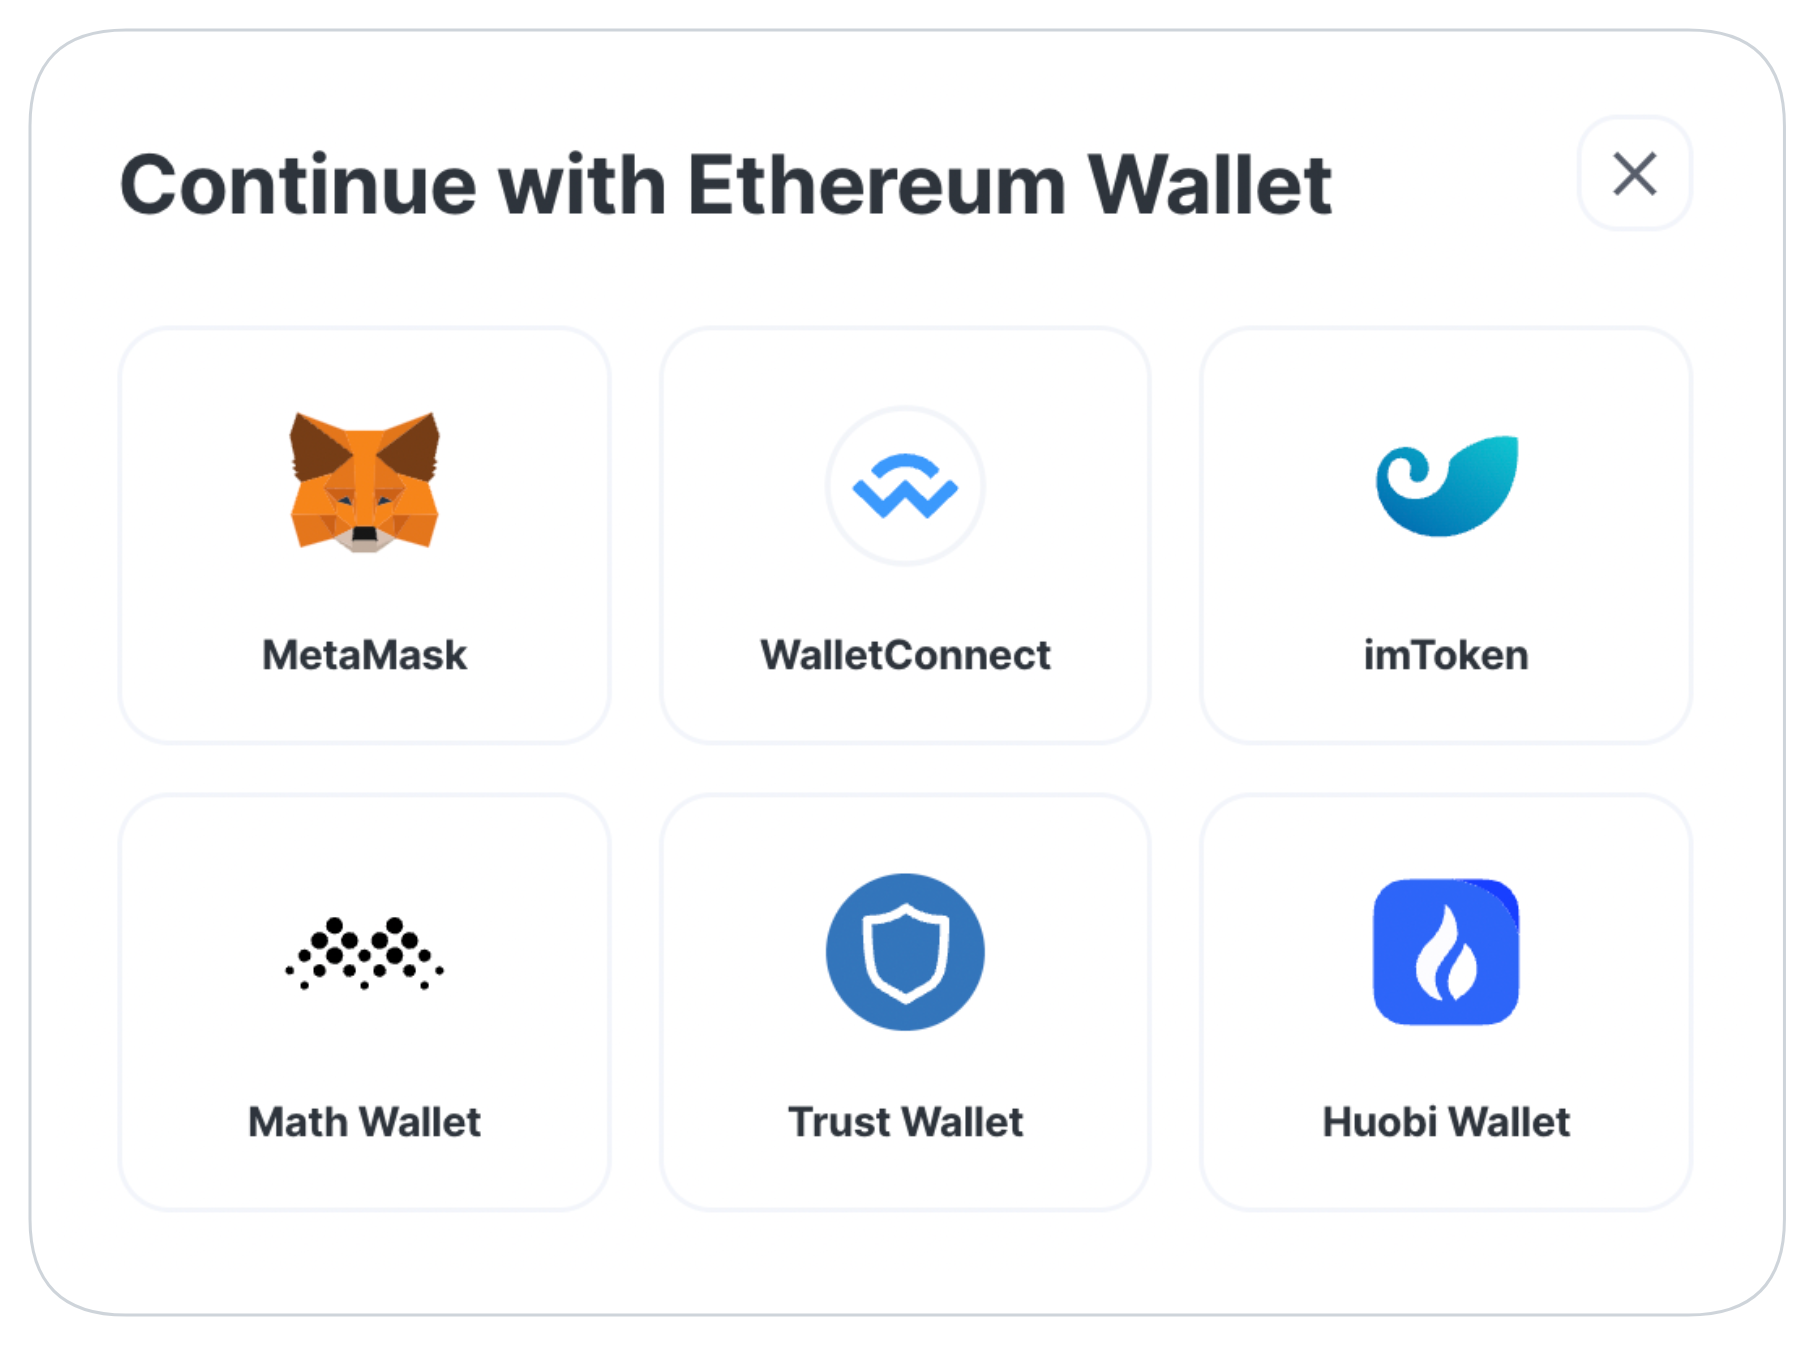
The Ethereum wallet sign in procedure is the following:
- Go to the Web3 API (opens in a new tab) platform.
- In the top right corner, click Sign in > Continue with ETH Wallet, select the wallet to use (example: MetaMask).
-
In your wallet, go through required steps:
- Click Provide — to use your public key for token encryption.
- Click Sign — to confirm interactions with our platform.
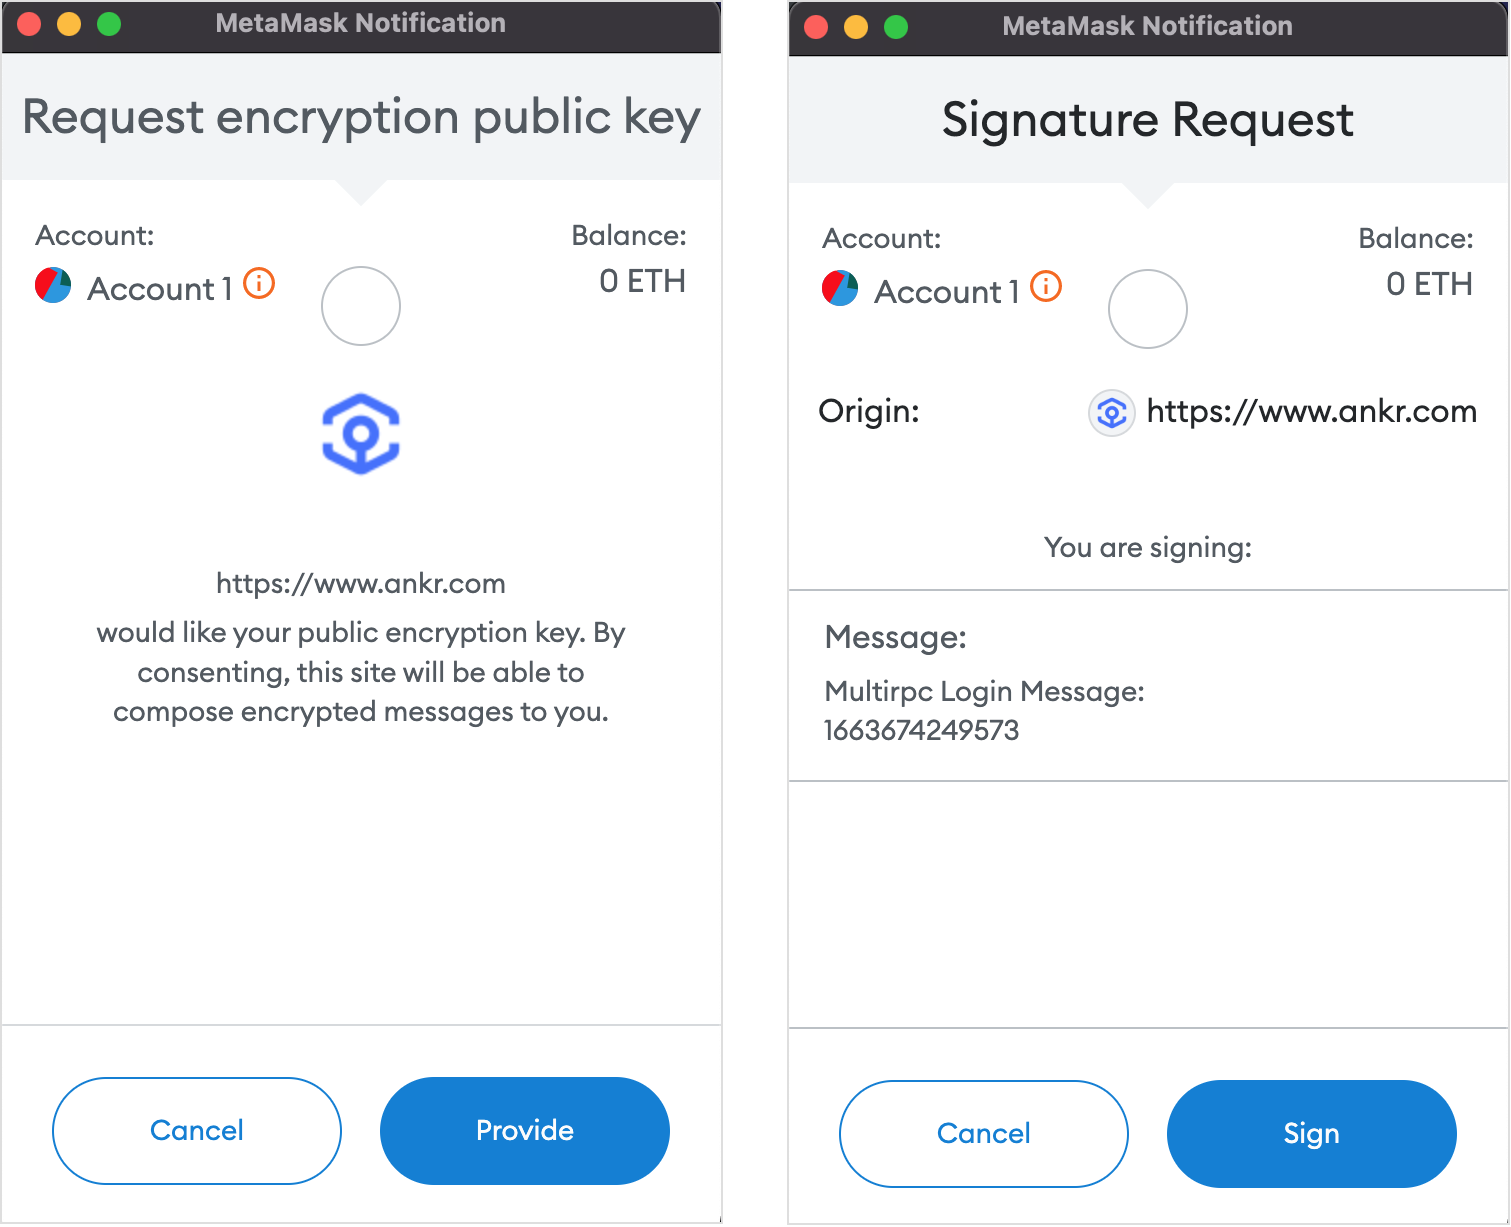
Congrats — you now have an account with Web3 API, associated with your wallet.
Deposit funds
We’ve pegged the price of our API Credits to USD. It means that upon using ANKR tokens for PAYG, ANKR calculates into API Credits at the current ANKR/USD exchange rate on the moment of block's validation.
Prerequisites:
The payment process contains the following steps:
-
In Navigation, click Billing to open the corresponding pane.
-
In the Payments box, select the following parameters, and then click Pay:
- Payment type:
- One-time: single Pay-as-you-go balance payment.
- Recurring: monthly-repeating Pay-as-you-go balance payment.
- Deal: monthly subscriptions with 20% extra API credits.

- Currency:
- USD, ANKR, USDT/USDC: all three options available for the One-time payment type only.
- USD: the only option for both Recurring and Deal payment types.

- Amount: select the amount in the presets or enter it manually.

- Payment type:
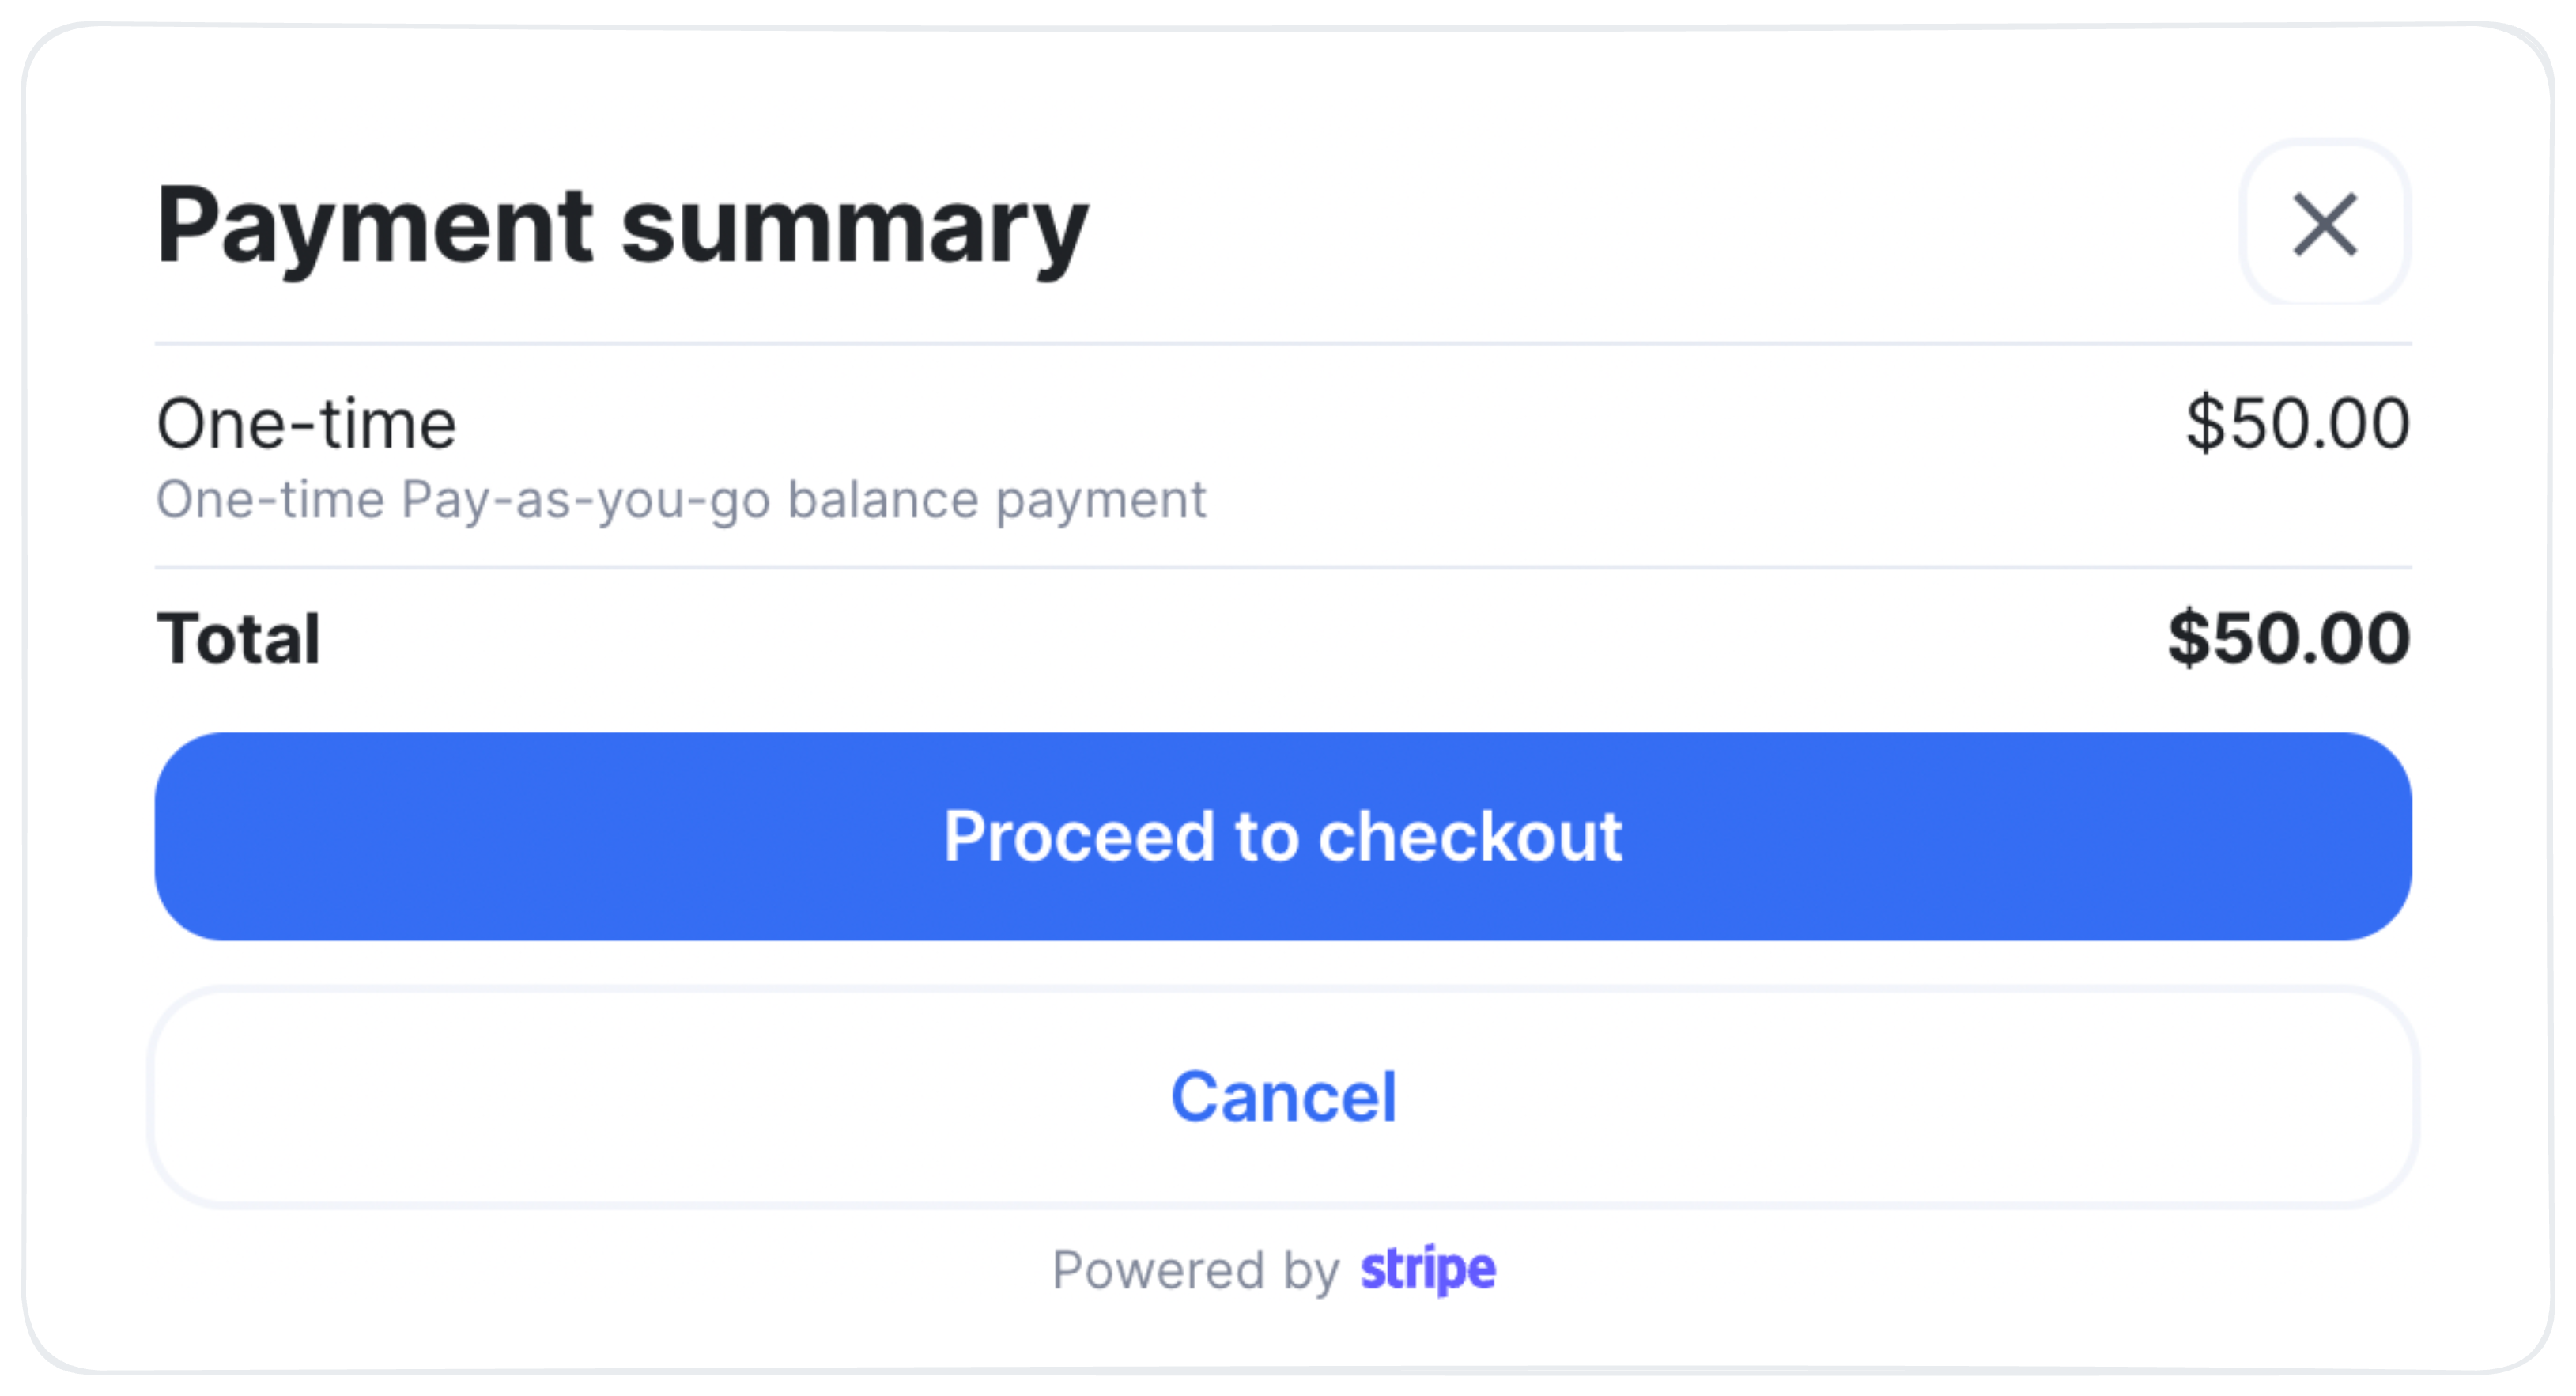
-
In the Payment summary dialog, check whether all the payment parameters selected are valid, and then either proceed to checkout with Stripe (opens in a new tab) or confirm the transaction with your Ethereum wallet.
Congrats — you've just deposited funds into your account balance, and you're all set to use your private endpoints.
Use private endpoints
Prerequisites:
Premium URL structure
As a Premium user, you have private Endpoints at hand to enable your projects to interact with blockchains.
A Premium URL consists of a connection protocol (https or wss), domain name (rpc.ankr.com), common path of a blockchain to use (/eth), and your personal JWT token as the last segment of the path:
https://rpc.ankr.com/eth/6fe08843fa0966456eaa3fb19d4828b12389e71f48829f50df25e45bc5fd6cc5Premium endpoint interaction formula
For a Premium user, the blockchain interaction capabilities still revolve around using Node/Advanced API endpoints but start from a different angle — Projects — which in essence represent individual unique tokens to differentiate and group your private endpoints around a single particular scope of work.
The endpoint for the Premium user can be schematically described by the following formula:
Endpoint=Project (API key)+Network
Copy endpoint into your app's library
To enable your web3 application to interact with a blockchain, copy the corresponding endpoint into your app's project library or config file:
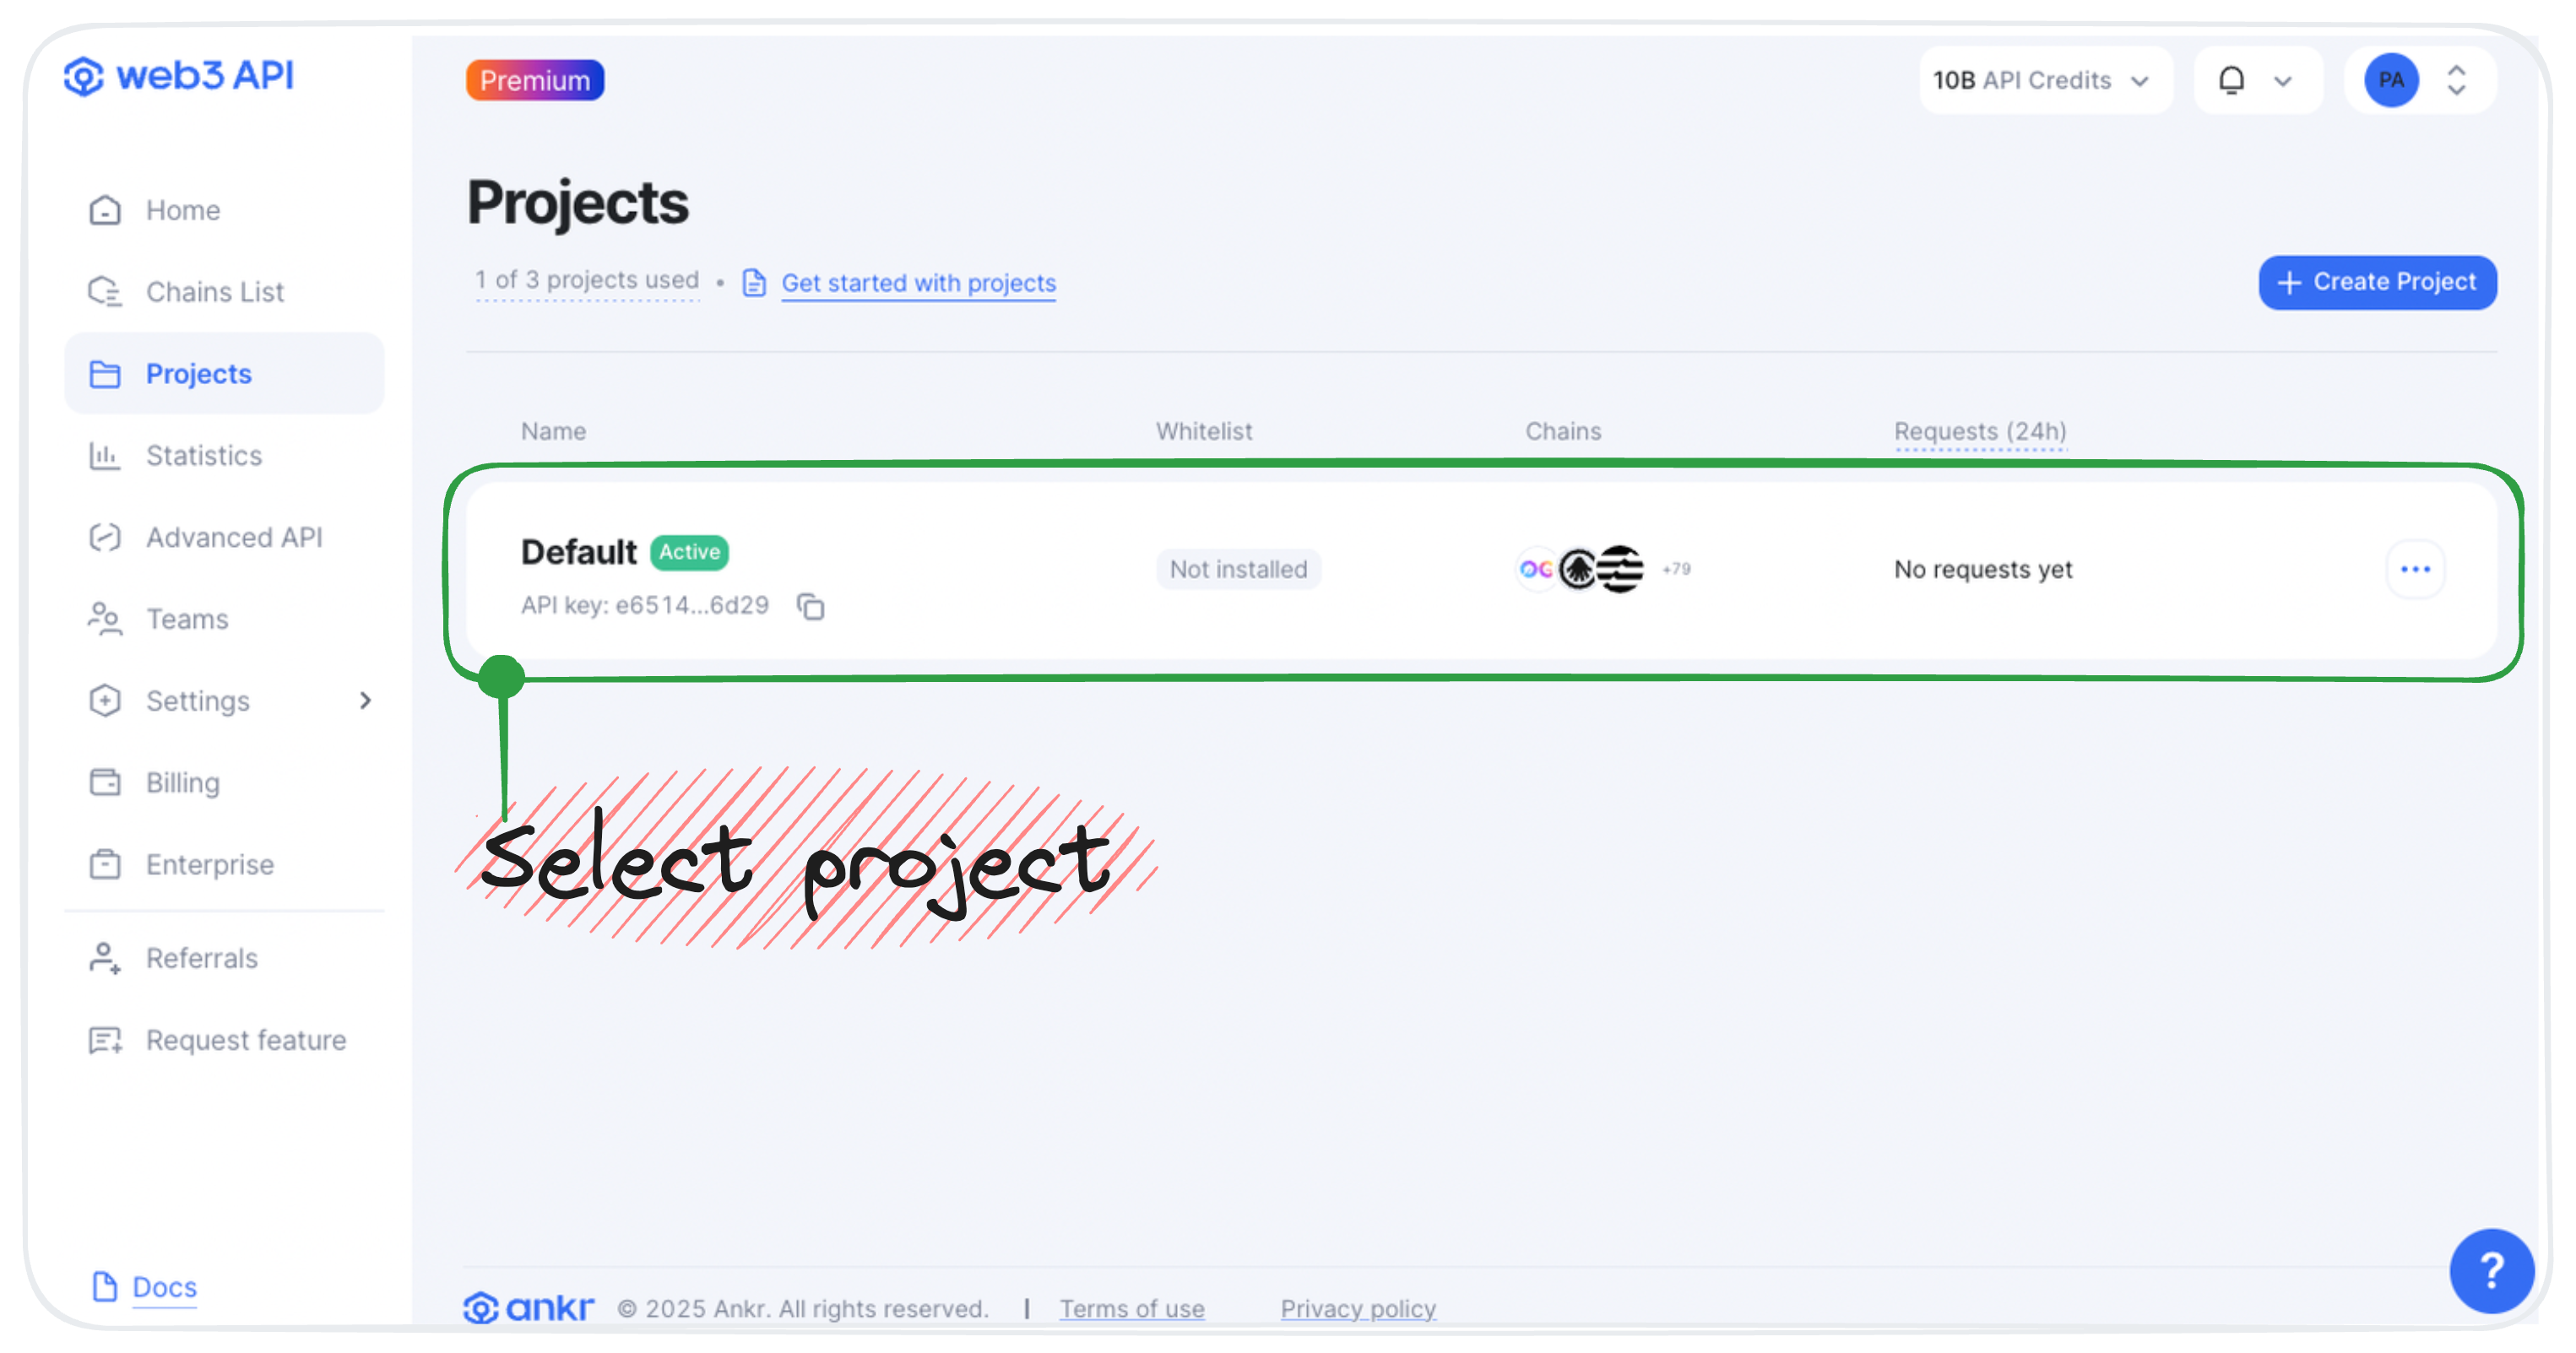
- In Navigation, click Projects to open the pane.
- In Projects list, click the project you'd like to work under.
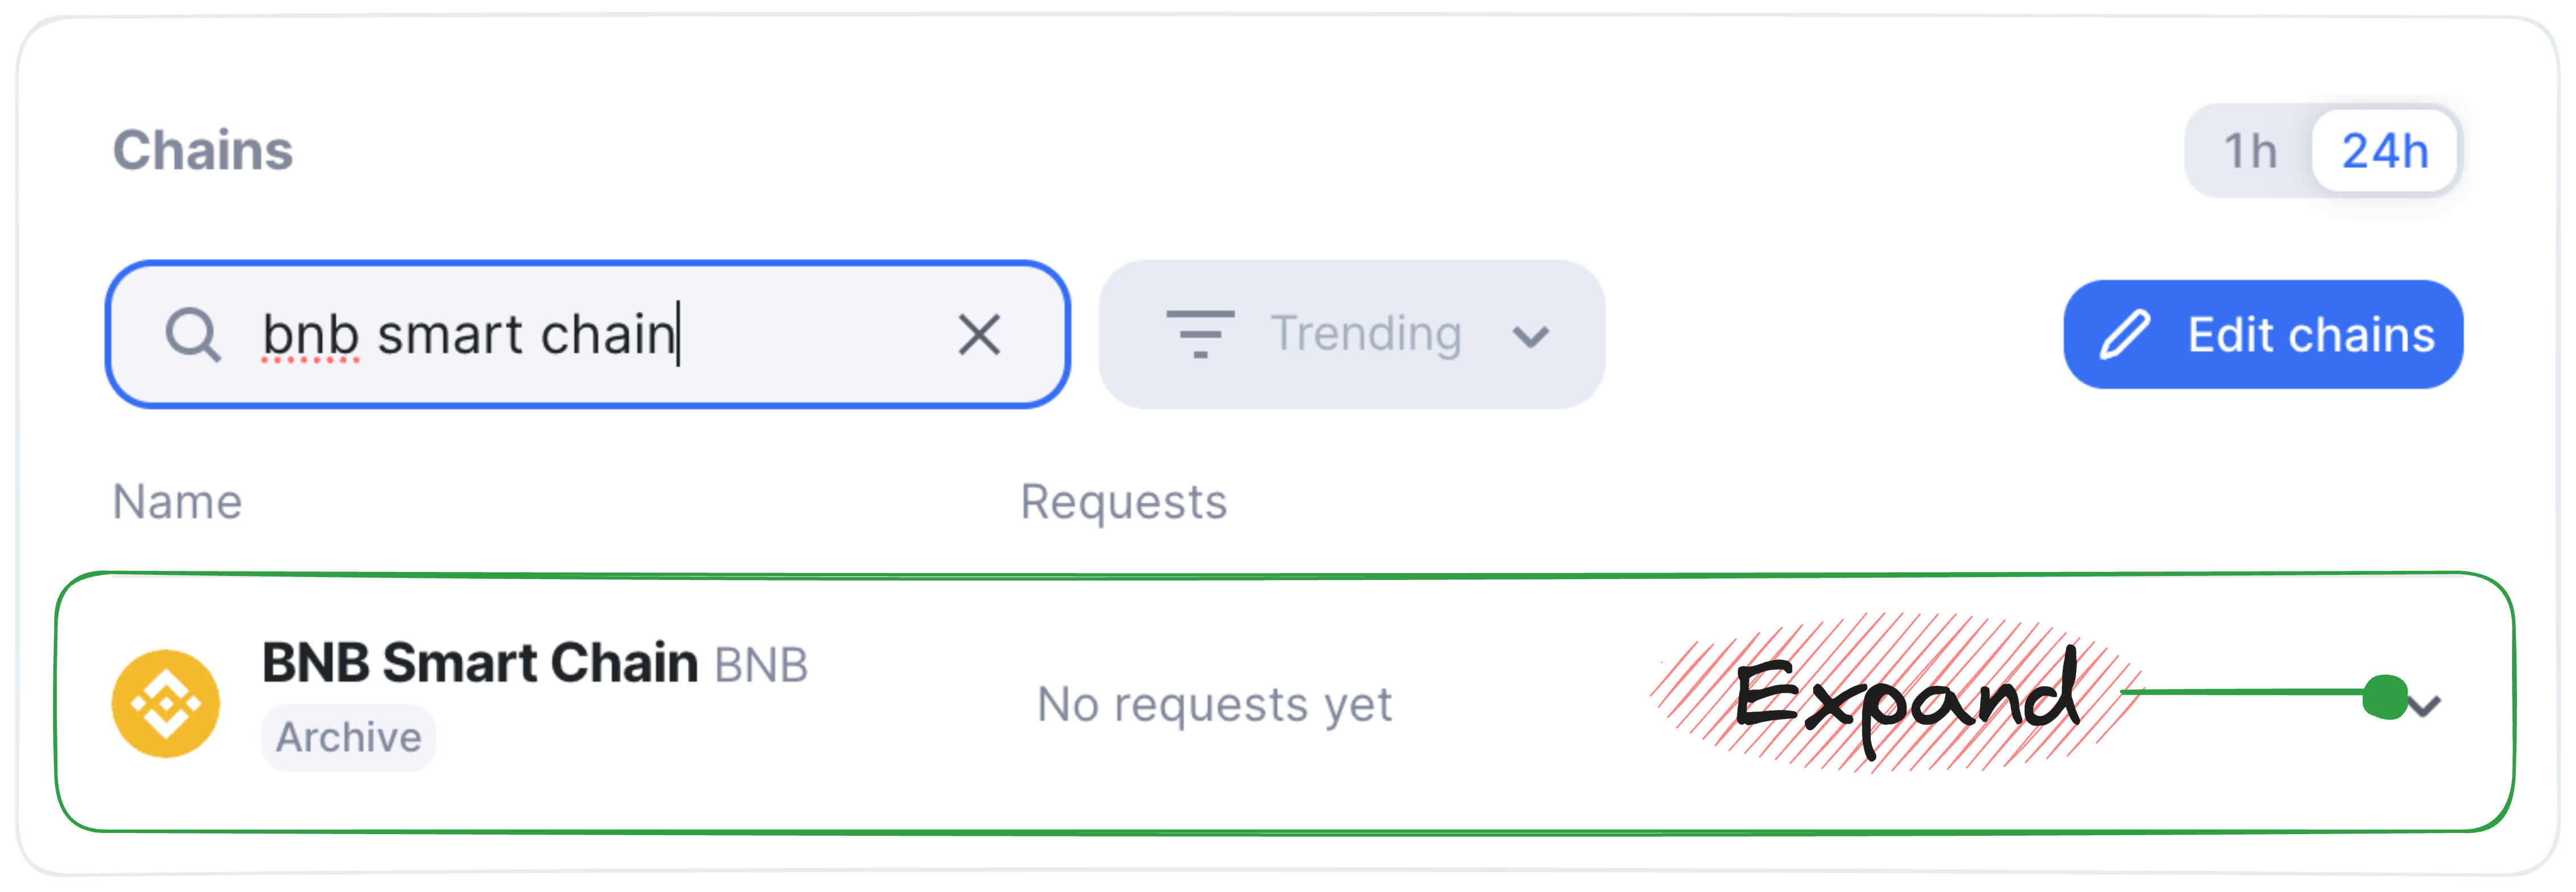
- In the Chains box of the project opened, click the chain you'd like to interact with to expand its contents.
- In the chain expanded, click the HTTPS/WSS endpoint to copy it, and then paste it into your app's working library or config file.
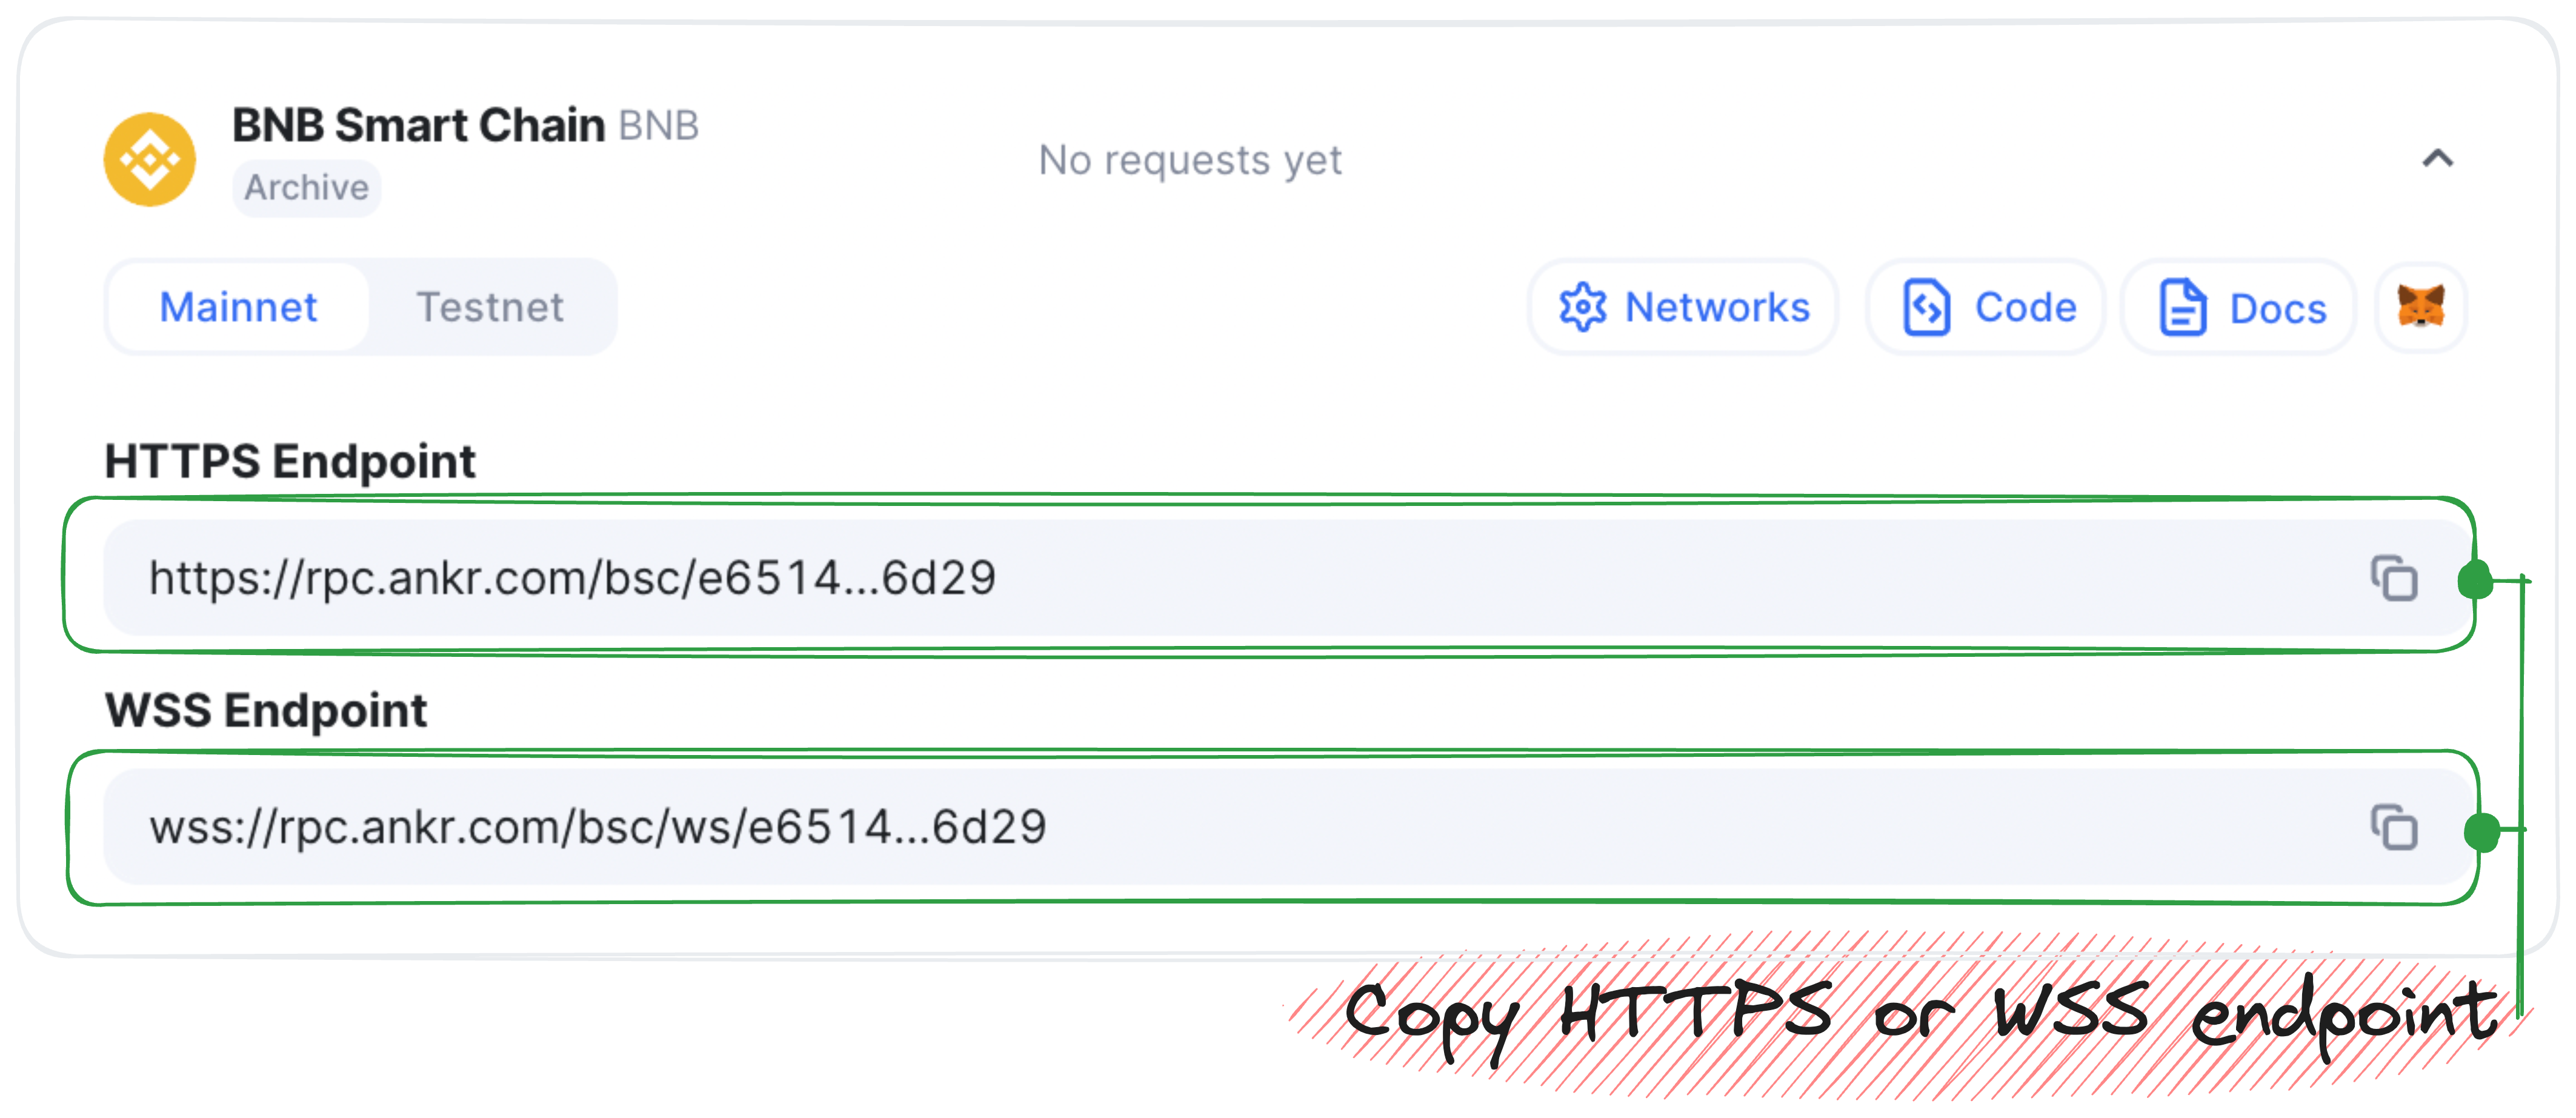
Congrats — you've just added a private endpoint into your app's working library or config file to enable blockchain interaction.