Fetch Particular Owner's NFTs with Ankr.js
In this tutorial, we’ll be fetching all the NFTs owned by a particular wallet or owner across multiple blockchains such as Ethereum, Polygon, and Fantom, to name a few, using Advanced APIs (opens in a new tab)↗.
Advanced APIs
Ankr's Advanced Multichain APIs are the collection of RPC methods created to simplify querying blockchain data. These APIs do all the heavy lifting for us so that we can query on-chain data in a matter of seconds.
Currently, it supports eight EVM compatible chains: Ethereum, Fantom, Binance Smart Chain, Polygon, Avalanche, Arbitrum, Syscoin and Optimism with more EVM and non-EVM chains coming soon. To interact with Ankr's Advanced APIs, we are going to use a JavaScript library named Ankr.js (opens in a new tab)↗.
Getting Started
Prerequisite: To successfully finish this guide, you'll need Node.js (opens in a new tab)↗ and Yarn (opens in a new tab)↗ installed on your machine.
Step 1: Set Up Next.js Starter Application
First up, navigate into the directory of your choice where you want to initiate this project and run the following command in your terminal to set up a new Next.js starter page:
yarn create next-app --ts ankrjs-fetch-nftsYou'll be able to see a couple of files and folders being created for you. Let's dive into the newly created directory and start the development server on localhost:3000.
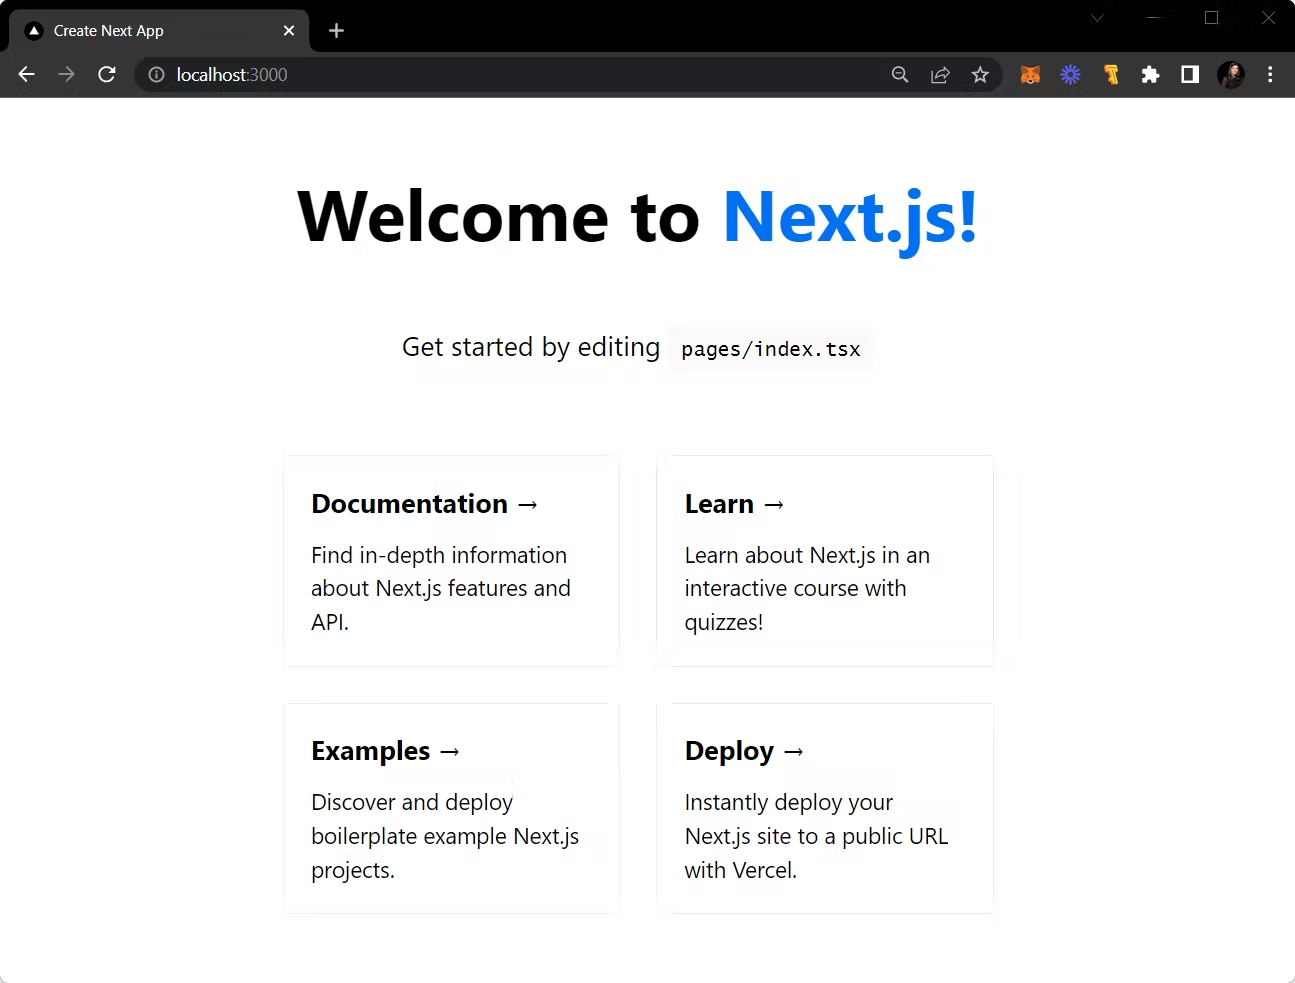
cd ankrjs-fetch-nftsyarn devVisit localhost:3000 to view the starter application and it will resemble the screen attached below:

Step 2: Install and Set Up Ankr.js
In this section, we will install and set up Ankr.js for querying NFT data from the blockchain for a given wallet address.
We will start by installing the ankr.js package from npm:
yarn add @ankr.com/ankr.jsNow that we have installed the Ankr.js library, let's set up Ankr.js by creating a new file named apis.ts at the root of your project directory. We will initialize Ankr.js in this file.
File: ./apis.ts
import AnkrProvider from '@ankr.com/ankr.js';
import type { Blockchain } from '@ankr.com/ankr.js/dist/types';

const provider = new AnkrProvider('');
To interact with Ankr's Advanced APIs, we have created a provider instance that will serve as an interface to the APIs required to fetch data.
Step 3: Create getNFTs Function
In this step, you will create a getNfts function that accepts a walletAddress and returns a list of NFTs owned by that address.
Here, we are going to utilize the getNFTsByOwner function provided by Ankr.js for this.
File: ./apis.ts
import AnkrProvider from '@ankr.com/ankr.js';
import type { Blockchain } from '@ankr.com/ankr.js/dist/types';

const provider = new AnkrProvider('');

export const getNfts = async (address: string) => {
  const { assets } = await provider.getNFTsByOwner({
    walletAddress: address,
    blockchain: 'eth',
  });
  return {
    nfts: assets,
  };
};
And that's it.
Let's call this function on our page i.e. ./pages/index.tsx to see the fetched NFTs by the owner's wallet address and log the output. To do so, clear the code from the index.tsx file and replace it with the one given below:
File: ./pages/index.tsx
import type { NextPage } from 'next';
import { useEffect } from 'react';
import { getNfts } from '../apis';

const Home: NextPage = () => {
  useEffect(() => {
    (async () => {
      const { nfts } = await getNfts(
        '0xd8da6bf26964af9d7eed9e03e53415d37aa96045'
      );
      console.log({ nfts });
    })();
  }, []);

  return (
  <div className='p-10 flex flex-col items-center'>
      <h1 className='text-3xl font-bold'>NFTs</h1>
    </div>
  );
};

export default Home;
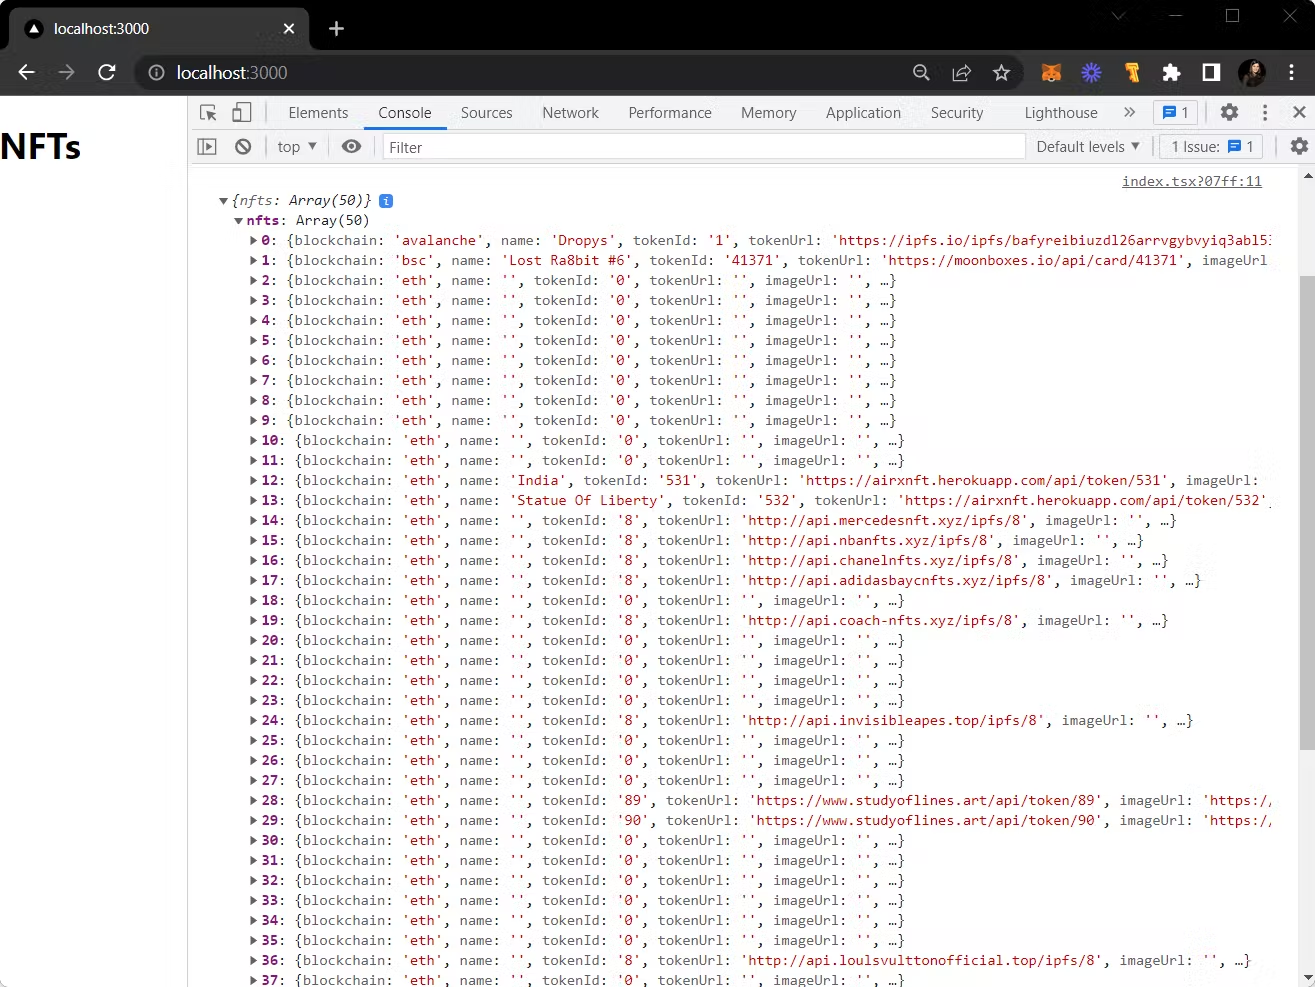
Now, let's see the NFT logs of an inputted wallet address in the developer console of a browser.
- Head over to your localhost and use
Option + ⌘ + J(on macOS), orShift + CTRL + J(on Windows/Linux).
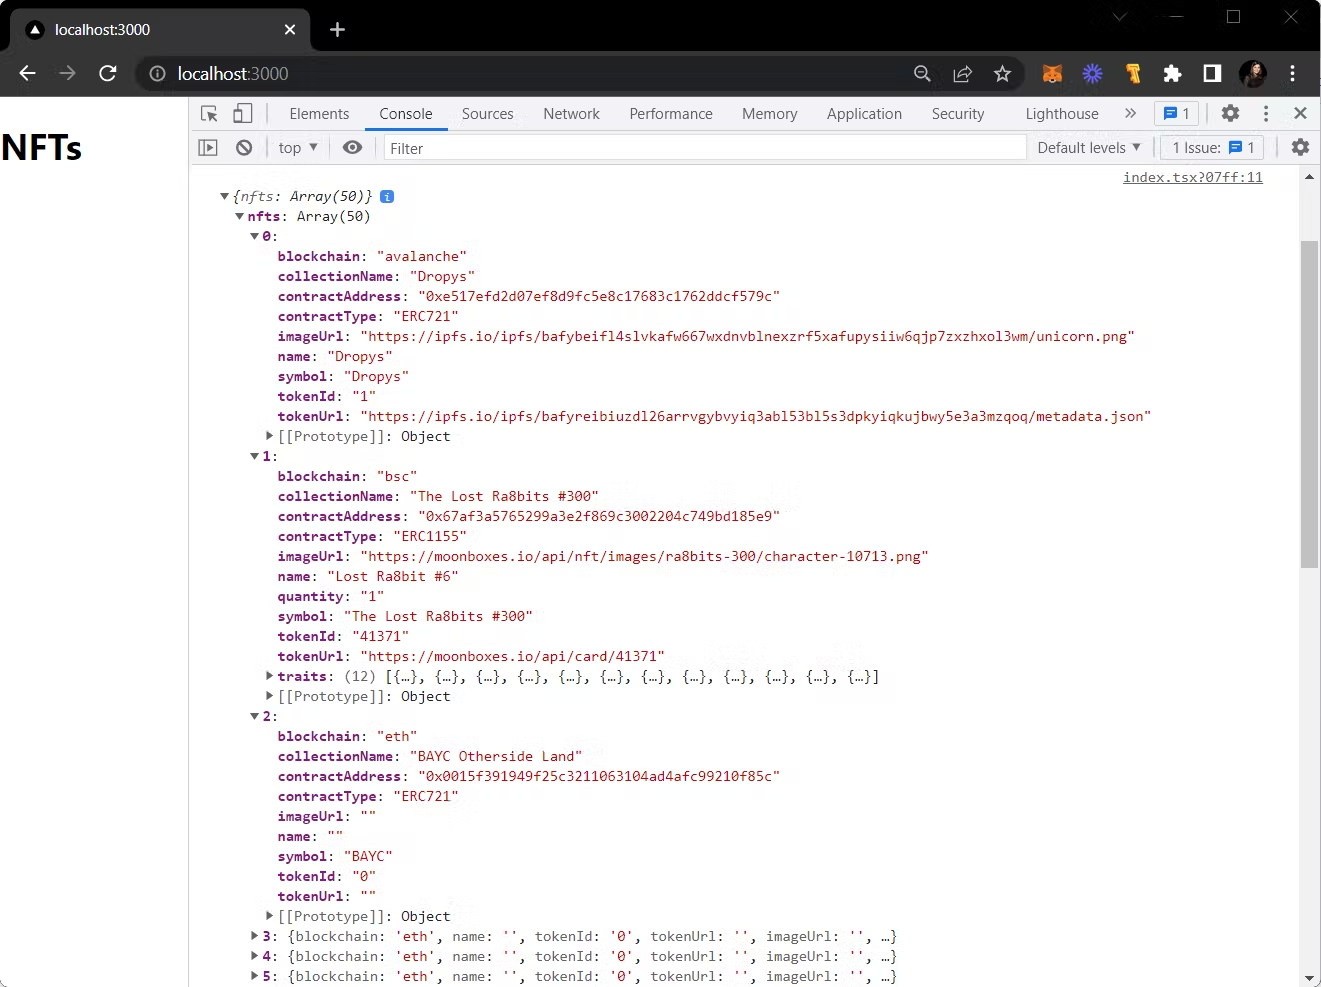
You should be able to see the list of NFTs owned by a particular address.

You can also extend the toggle to dive into the details of the NFTs held by the owner. Details include: blockchain``collectionName, contractAddress, contractType, imageUrl, name, symbol, tokenId and tokenUrl.
